
Installation on First server
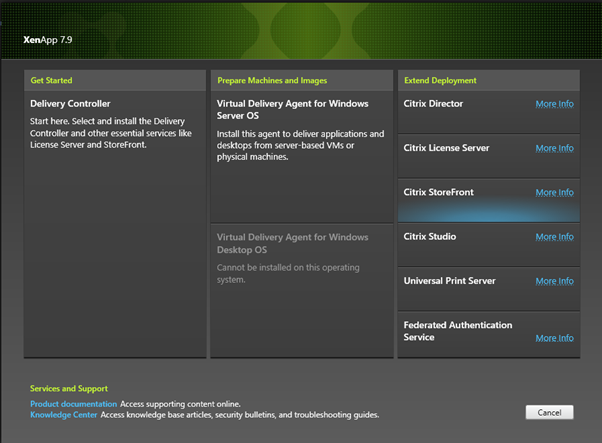
1 – Launch Setup.exe from XenApp_XenDesktop7.9.ISO – from Extended Deployment Choose “Citrix StoreFtont”
2 – At Software License Agreement, Tick “i have read, understand, and accpept the terms of the license agreement. Click “Next”

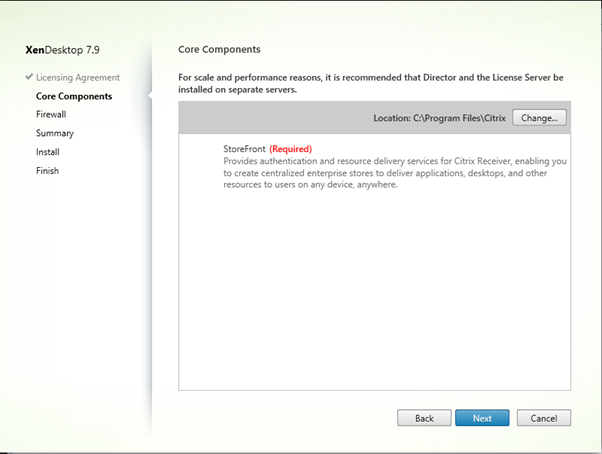
3 – At Core Components, Click “Next”
4 – At Firwall, Leave Default and Click “Next”

5 – At Summary , Confirm all Setting and Click “Install”

6 – After .NET Framework 4.5.2 the server will request a reboot in preparation for adding web services role.

7 – The Server will be rebooted

8 – After Server reboot, and your re-log back in again the setup will automatically resume install the rest of the required prerequisites and core components

9 – After success installation of StoreFront, Click “Finish”

10 – Storefront Management Console will launch, Choose “Create a new Deployment”

11 -Specify the Base URL,by default it will be the name of the server running the installation. If multiple storefront specify the Load Balanced URL. Click “Next” to Create deployment

12 – Confirmation of deployment creation in progress appears.

13 – At Getting Started , Click “Next”

14 – Enter a Store Name. (i.e Store), accept default and Click “Next”

15 – At Delivery Controller, Click “Add”

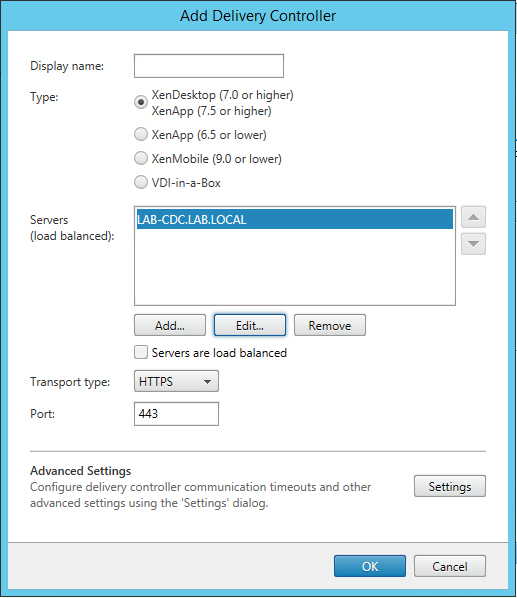
16 – Enter “Display Name” , Choose Type. In this case XenDesktop(7.0 of Higher)/XenApp(7.5 or Higher). Click “Add” in Server Section

17 – Enter the Delivery Controller Address, i.e (LAB-CDC.LAB.LOCAL) which is a Load Balanced Name for 2 Delivery Controllers.

18 – Untick “Servers are Load Balanced” if using a Load Balanced Name for delivery controllers otherwise leave ticked with multple delivery controllers listed.
Conform Transport type is HTTPS/443 for best practise, or choose HTTP/80 if using un-secure protocol.
19 – Confirm Delivery Controllers has been added to Delivery Controller list, of other farms existing such as XenApp6.5 they should be added to this section and repeat step 15-18 with type changed to appropriate farm. Click “Next”

20 – At Remote Access, Type “Display Name” of Netscaler Gateway and the “Netscaler Gateway URL”, Leave other settings default. Click “Next”

21 – Add the Delivery Controller to “Secure Ticket Authority URL’s”, Tick “Enable Session Reliability”, leave other settings default and Click “Next”

22 – At Authentication , Select Netscaler 10.0 ( Build 69.4 or Later), enter the NSIP o the Netscaler Gateway, Login type to “Domain” and “Callback URL” to which the Storefront servers will call the Netscaler for authentication validation. Click “Create”

23 – The Gateway will be successfully added now. Click “Finish”

24 – Leave all setting as default. Click “Next”

25 – At Authentication Method, Enable “Username and password” & “Domain pass-through”. Click “Next”

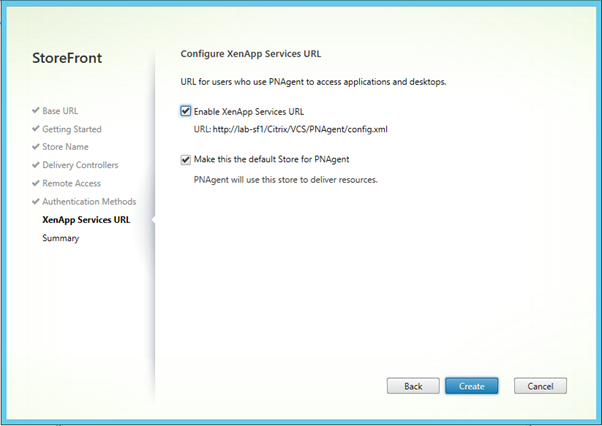
26 – Leave all settings default, Click “Create”
27 – StoreFront Store will be created now, with a progress bar showing status.

28 – Confirmation of Store created successful will appear.

Adding a Second StoreFront server
NOTE: Step 1-9 must be completed on Additional Server.
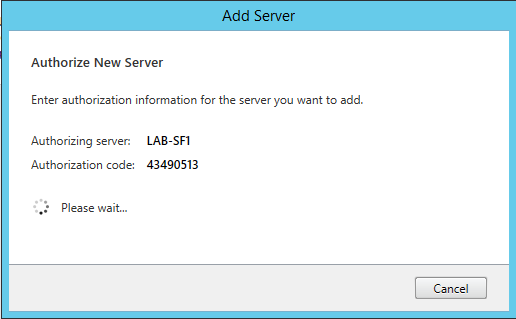
29 – At Citrix Storefront Management Console on First Storefront Created, Choose “Server Group”. Click “Add Server

30 – The following Window will appear, Take Note of the Authorizing Server & Authorization Code.
31 – On the 2nd Storefront Server, Launch the Storefront Managment Console, Choose “Join existing server group”

32 – Enter the Authorization Server/Code noted in Step 30
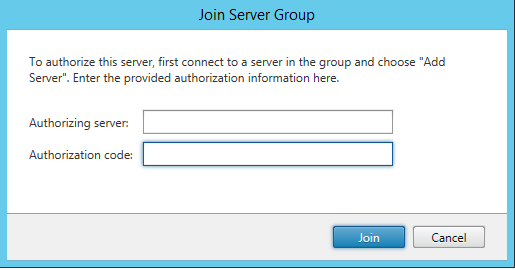
32 – The Second Storefront server will begin joining the server group.

33 – Confirmation of Second Server will Joined will be deployed.

Installation & Configuration of StoreFront is Complete!
Awesome