
Upgrade Steps as per Citrix recommendations are as follows:

NOTE: This upgrade path applies and is supported from PVS 5.1 SP1
Upgrade Provisioning Services Server Installation
Step 1 – Download Citrix Provisioning Service 7.14
Step 2 –Click on Server Installation.

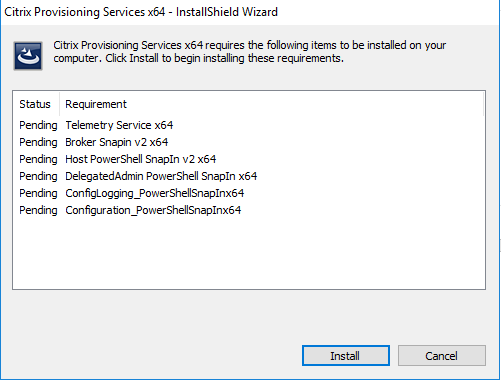
Step 3 – The setup wizard will automatically detect the required pre-requisites and will prompt to install them. Click on “Install”
Step 4 – Click on “Next” on the welcome screen.

Step 5 – Accept the license agreement and click on “Next”.

Step 6 – Enter the username and organisation name. Select the all users option and click on “Next”.

Step 7 – Choose the installation folder. Leave Default. Then click on “Next”

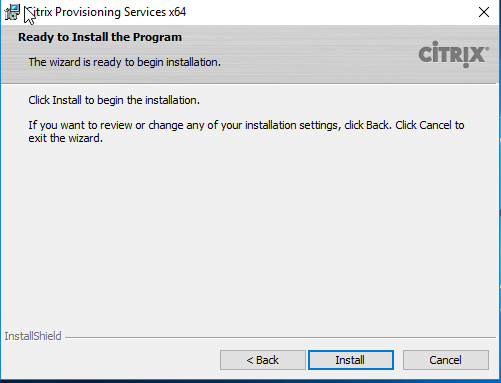
Step 8 – At Ready to Install the program , Click on “Install”
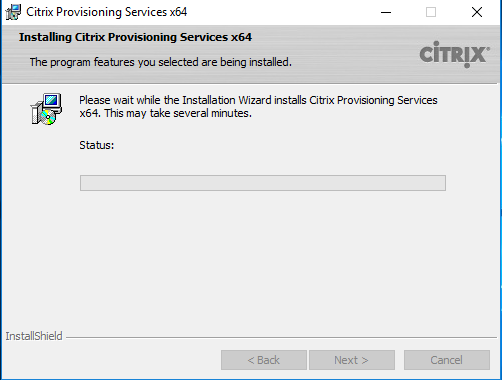
Step 9 – Provisioning Server will now begin installing, this will take a few minutes
Step 10 – At Ready to Install the program , Click on “Install”

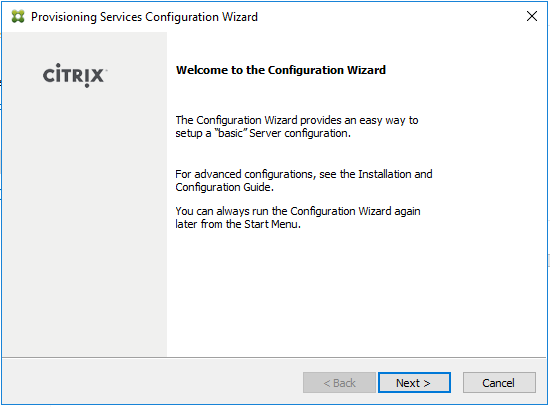
Step 11 – Configuring Wizard will automatically Launch, Click Next
Step 12 – On DHCP Services, DHCP option. Choose” The service that runs on this computer”. Click on Next.

Step 13 – Choose the PXE options. “This Service that Run on this Computer – Provisioning Services PXE Service”

Step 14 – Choose Farm is already and click on “Next”.

Step 15 – Enter the license server fqdn. Click on Next.

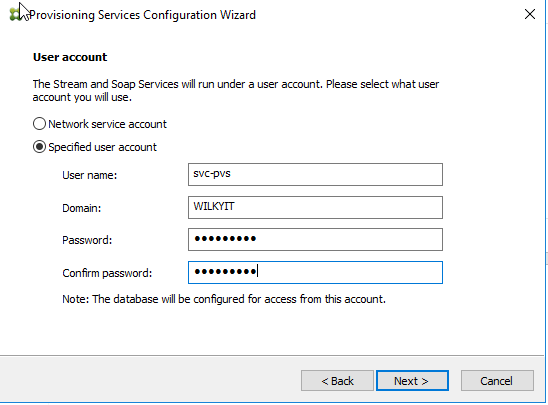
Step 16 – Enter Network Service Account or specify a Service account to run the PVS/Soap Service.
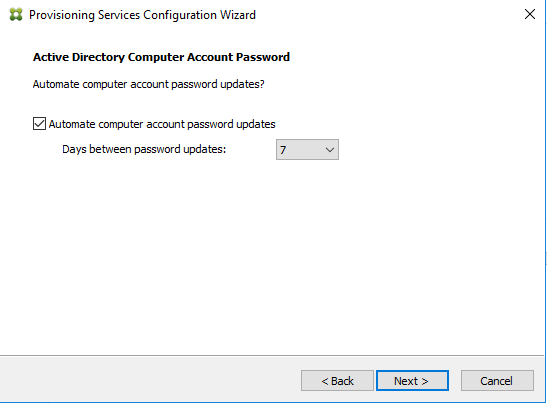
Step 17 – Leave all as default, click “Next”
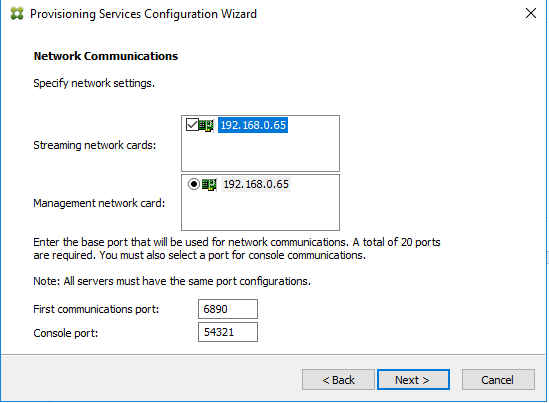
Step 18 – Check the network communication settings for management and streaming. Select the correct interface, check with your network admin in case this is not clear. Click “Next”
Step 19 – Tick Use the Provisioning Services TFTP Service , Leave all as default click on “Next”.

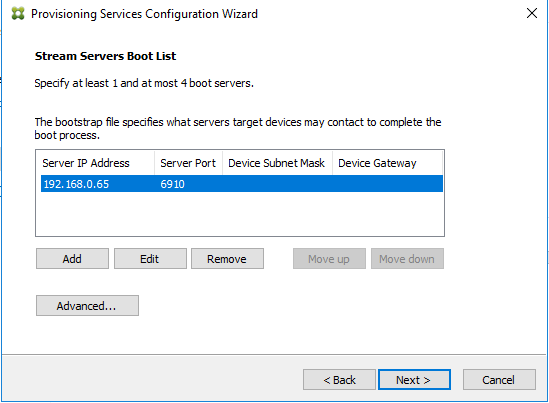
Step 20 – Confirm Stream Server Boot List, at this point since this is the first only 1 server IP Address will be listed
Step 21 – Leave as default as Linux Images will not be streamed.

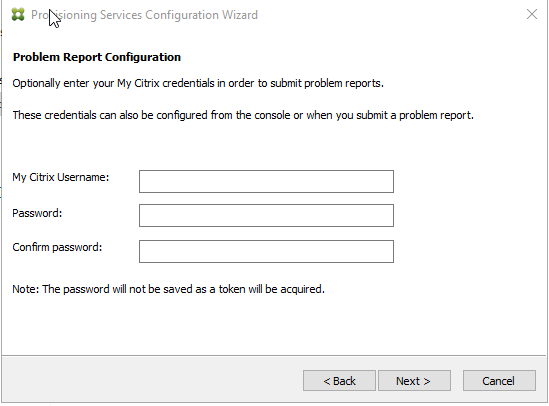
Step 22 – Enter MyCitrix Credentials, this is optional.
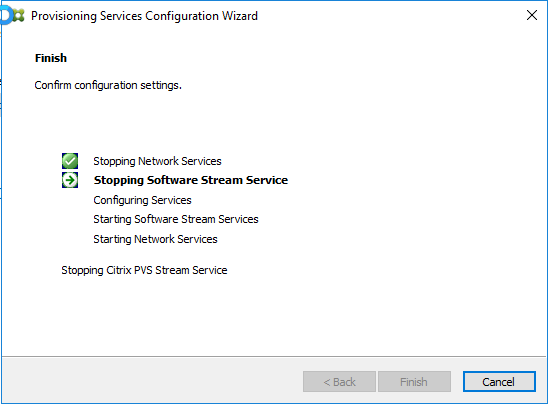
Step 23 – Click on “Finish” on configuration settings page.

Step 24 – There existing database will now be updated, click Yes to peform the upgrade now.

Step 25 – Installation will progress, with status of each service during installation.
Step 26 – Installation will then complete with all tasks with green tick, Click Done

Upgrade Provisioning Services Console
Step 1 -In order to manage Citrix Provisioning Services you need to install the console. Run the setup from the Citrix Provisioning Services ISO and this time click on “Console Installation”.
Step 2 – Click Next in the welcome screen.

Step 3 – Accept the License Agreement and click on “Next”.

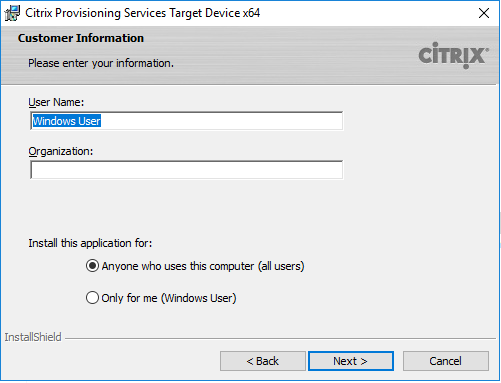
Step 4 – Enter the Customer Information and click on “Next”.

Step 5 – Leave install folder as default, click Next

Step 6 – Click Install at Ready to Install the program

Step 7 – Installation will progress…

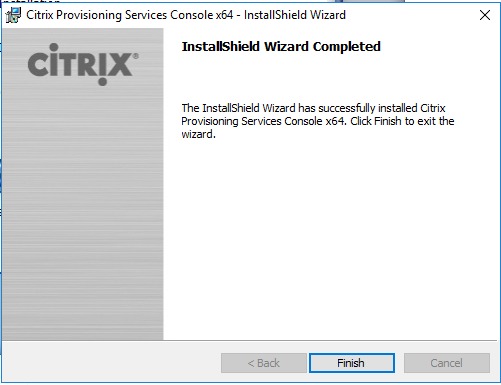
Step 8 – After the installation is finished, click on “Finish”.
Upgrade Provisioning Services Target Device Agents
Step 1 -In order to manage Citrix Provisioning Services you need to install the console. Run the setup from the Citrix Provisioning Services ISO and this time click on “Target Device Installation”.
Step 2 – Then Click Install Upgrade Wizard

Step 3 – Click Next at Welcome to the Installation Wizard for Citrix Provisioning Service Target Device x64

Step 4 – Select i accept the terms in the license agreement, Click Next

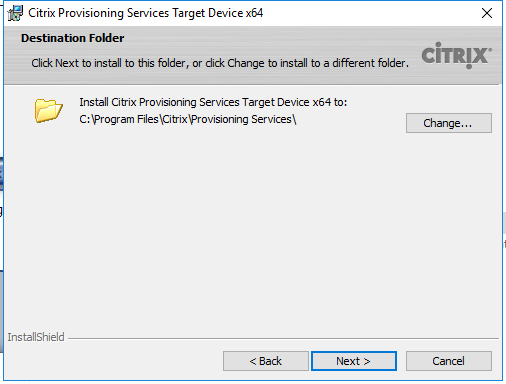
Step 5 – Leave as default, Click Next
Step 6 -Leave as default, Click Next
Step 7 -At Ready to install the program, Click Install

Step 8 -Installation will begin and take a few minutes to complete.

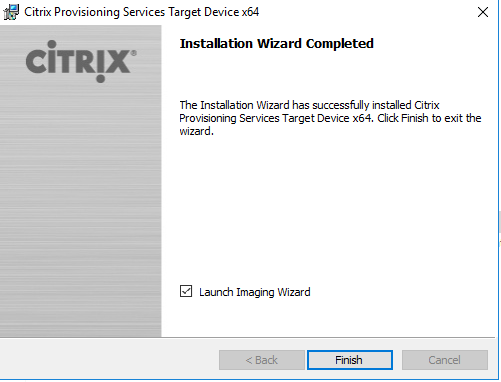
Step 9 – Click Finish at Installation Wizard Completed.
At this stage the vDisk should be re-sealed and re-distributed to each Provisioning Server.
2 comments