
Important notice about Citrix Apps & Desktops 7.14.1
If you downloaded the XenApp and XenDesktop 7.14.1 ISO or 7.14.1 Virtual Delivery Agents, skip the remainder of this notice. (Check the file name. If it includes 7.14.1, you’re set.)
If you already downloaded or used the original 7.14 ISO or VDAs, follow the appropriate procedure:
- If you downloaded the original XenApp and XenDesktop 7.14 ISO or 7.14 VDAs (but haven’t installed or upgraded any components yet), Citrix recommends you discard those files and download version 7.14.1. (If the file name includes simply 7.14 (without the appended .1), discard that file and get the newer 7.14.1 version.)
- If you already installed original 7.14 components (or upgraded to 7.14 using the original components), download the current 7.14.1 versions and then upgrade your Delivery Controllers and VDAs. (How to upgrade.) Even if you upgraded with the original 7.14 software and encountered no issues, Citrix still recommends you upgrade to 7.14.1. This will help ensure you do not encounter issues identified in the original software.
- If you already upgraded your deployment with the 7.14 components and the database and site upgrade failed (leaving your site in an unusable state), follow the guidance in the Known issues article (section: Install and upgrade with the original version 7.14 software).
The Known issues article lists the issues in 7.14 that are resolved in 7.14.1.
Upgrading XenApp and XenDesktop to 7.14.1
As per Citrix recommendation on upgrading the below flowchart will be used to upgrade from 7.13/7.14 to 7.14.1 (as per the previous upgrade steps)
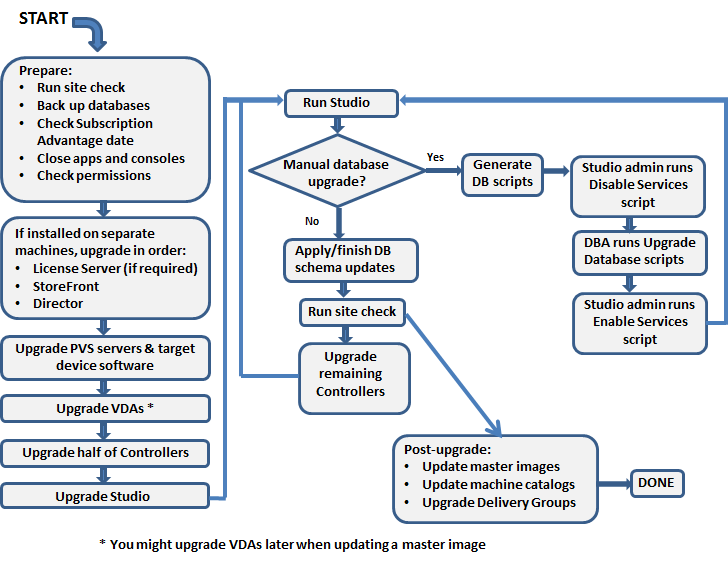
- Make sure that your Subscription Advantage date for licenses is valid.
- Back up the Delivery Controller databases.
- Upgrade Director if it is installed on a separate machine from your Delivery Controllers.
- Backup templates and upgrade hypervisors (optional).
- Upgrade Provisioning Services if in use.
- Upgrade the Virtual Delivery Agent and perform an image update on all master images.
- Upgrade half of your Delivery Controllers (all components).
- Use the upgraded version of Studio to perform Site upgrade.
- Upgrade your remaining Delivery Controllers (all components).
Below i will cover:-
- Director/Studio/Delivery Controller/License Server upgrade
- Storefront on Separate Server
- Upgrade of a Server OS VDA
StoreFront Upgrade
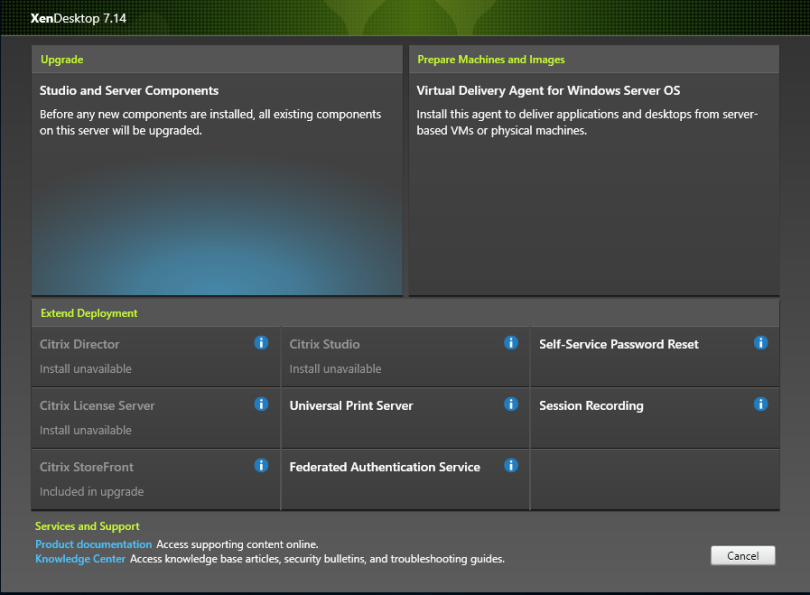
Step 1: Download the Citrix 7.14.1 ISO from the Citrix Downloads (XenApp_and_XenDesktop_7_14_1.iso) and Click Upgrade Studio and Server Components
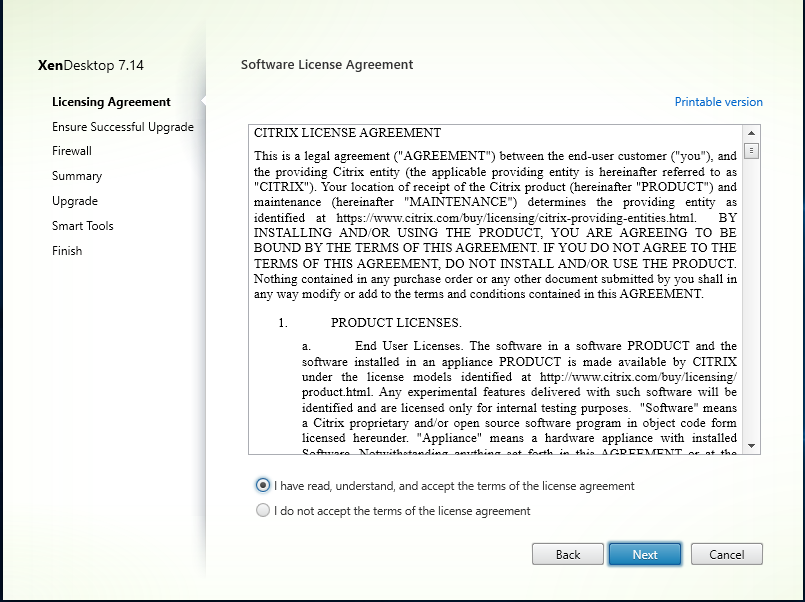
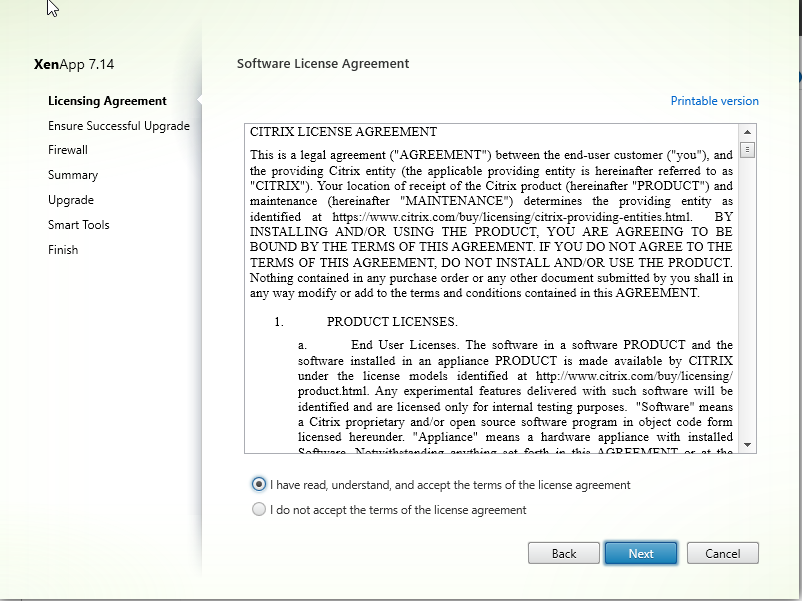
Step 2: Accept the terms and license agreement, click on Next
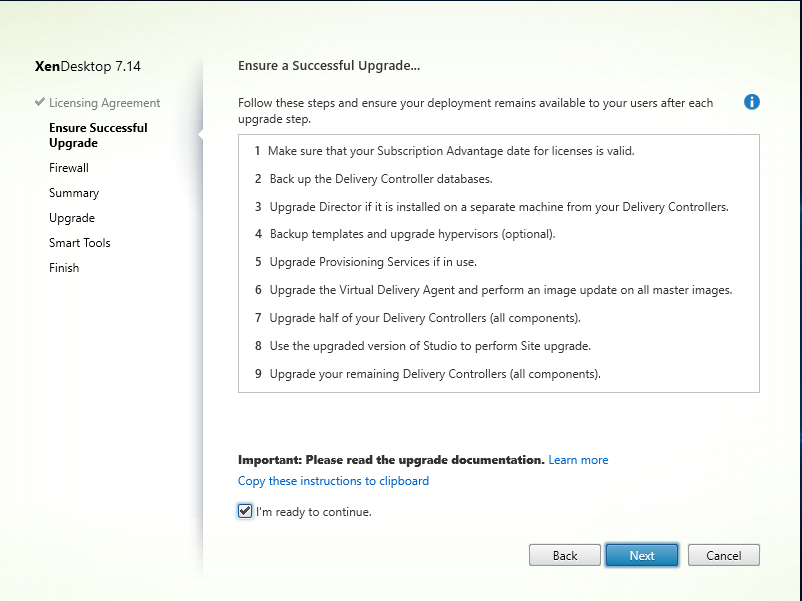
Step 3: At Ensure a Successful upgrade, tick I’m ready to continue , Click next
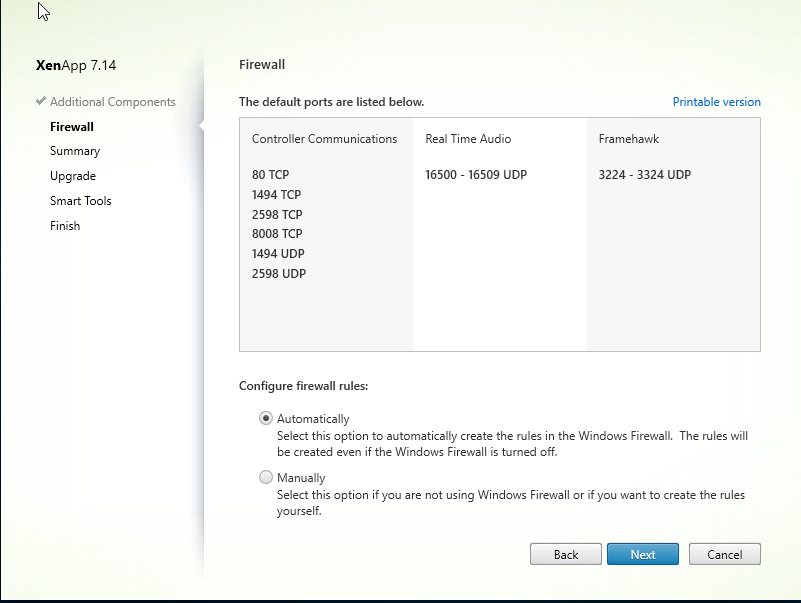
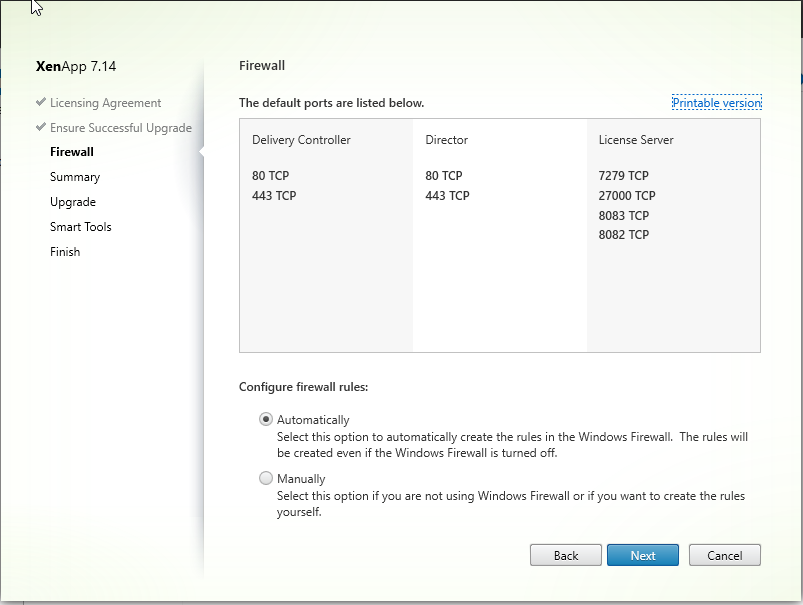
Step 4: Leave configuration at “Automatically”, Click Next

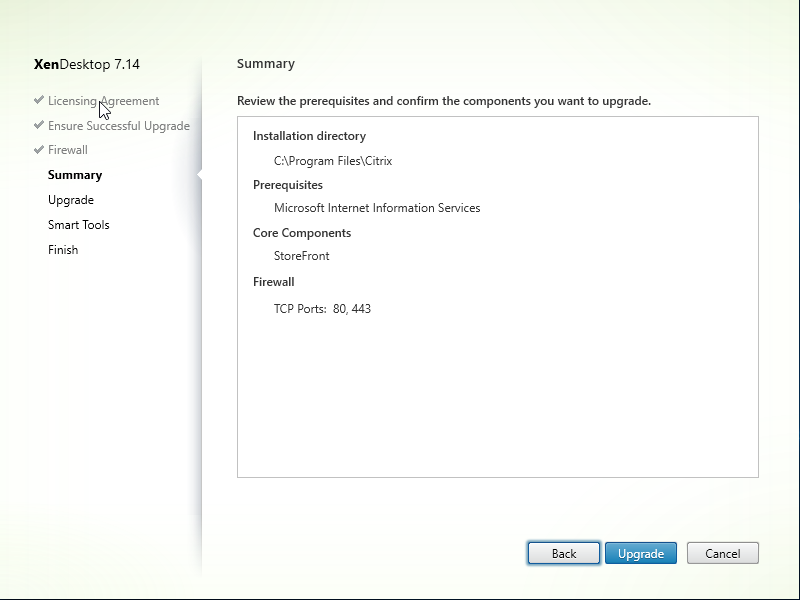
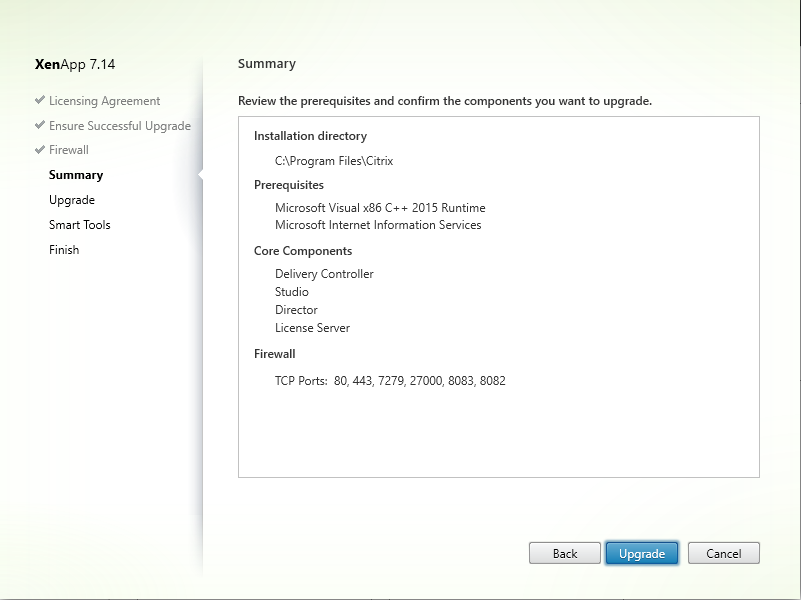
Step 5: At Summary screen, confirm everything is correct, Click Upgrade
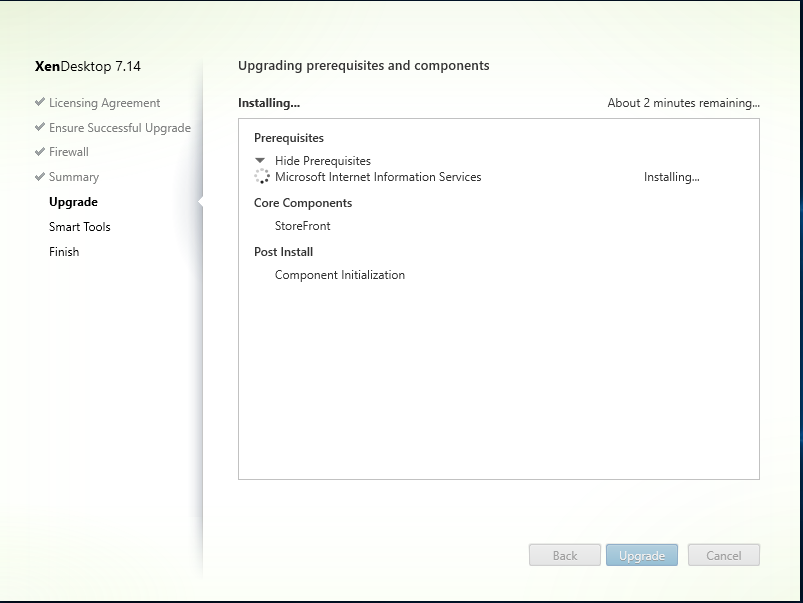
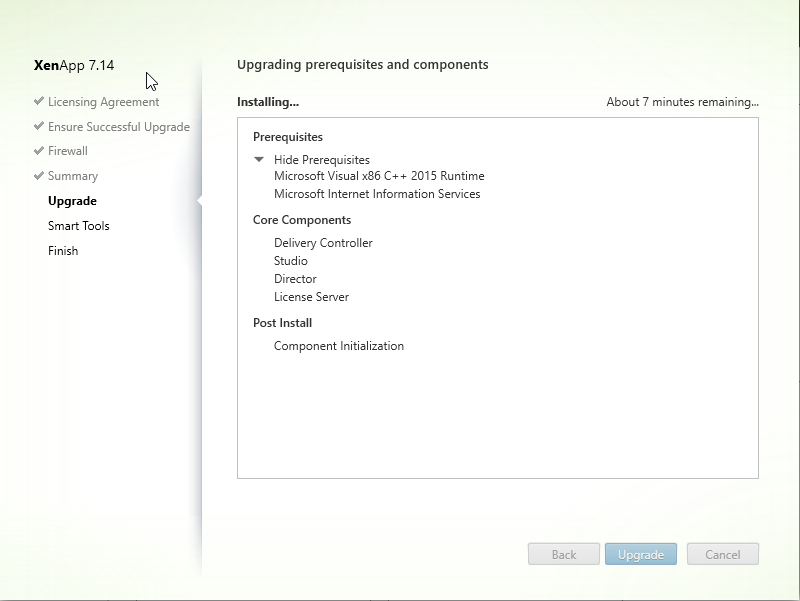
Step 6: Prerequisites and Upgrades will now be installed.
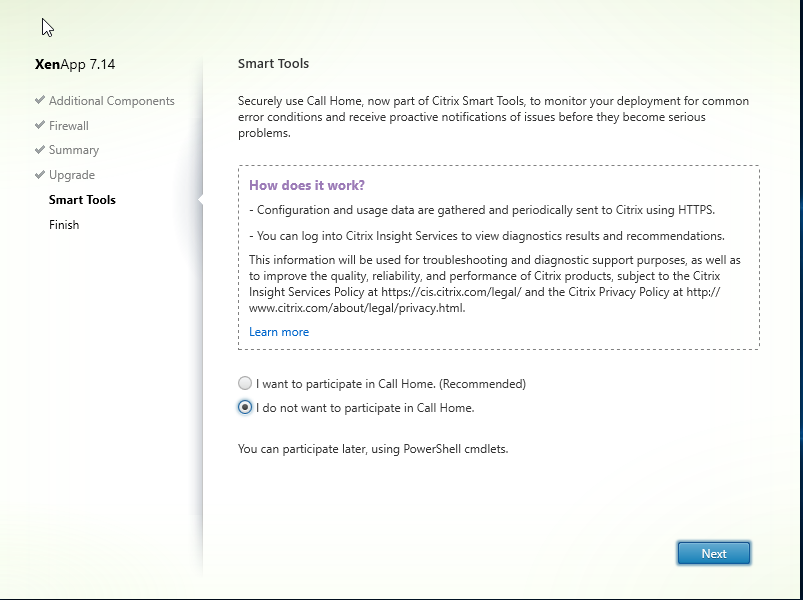
Step 7: At Call Home, Select i do not want to participate in Call Home

Step 8: Click Finish
Step 9: Repeat this on every StoreFront Server
Upgrade VDA’s (On Master Image)
Step 1: Download the Citrix 7.14.1 ISO from the Citrix Downloads (XenApp_and_XenDesktop_7_14._1iso) and Click Upgrade Studio and Server Components
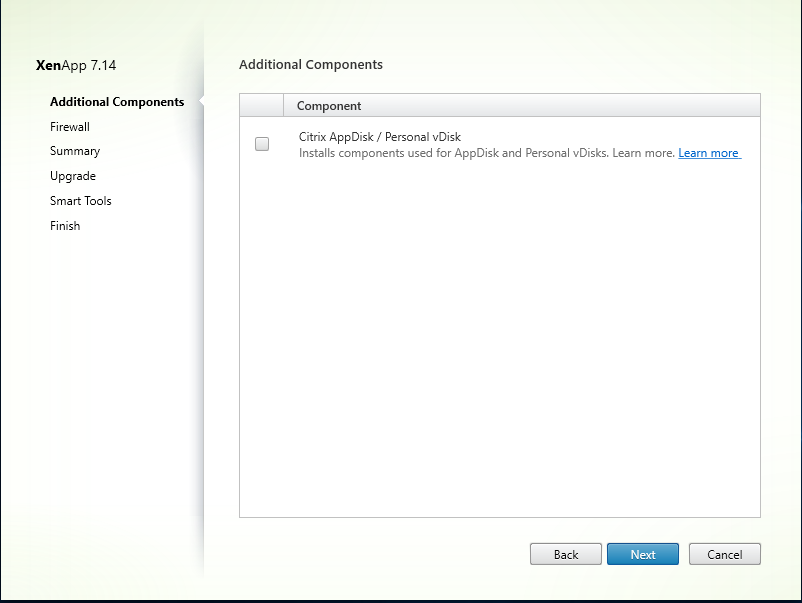
Step 2: At additional components, click next
Step 3: Leave configuration at “Automatically”, Click Next
Step 4: At Summary screen, confirm everything is correct, Click Upgrade

Step 5: Prerequisites and Components will now be upgraded.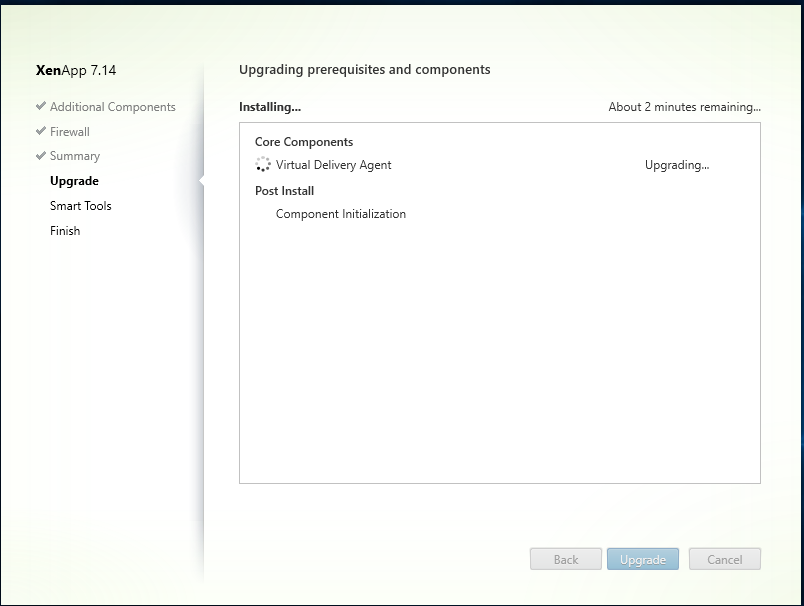
Step 6: Core components will be upgraded.
Step 7: At Smart Tools, Select i do not want to participate in Call Home
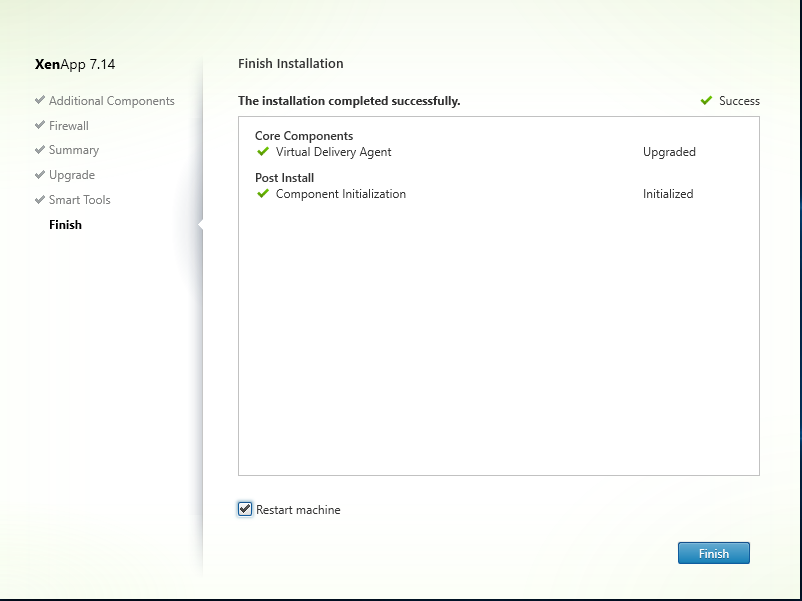
Step 8: After upgrade has finished. Click Finish
Step 9: Repeat this in all Master Images used in Site.
Delivery Controller Upgrade
Step 1: Download the Citrix 7.14.1 ISO from the Citrix Downloads (XenApp_and_XenDesktop_7_14_1.iso) and Click Upgrade Studio and Server Components
Step 2: Accept the terms and license agreement, click on Next
Step 3: At Ensure a Successful upgrade, tick I’m ready to continue , Click next

Step 4: Leave configuration at “Automatically”, Click Next
Step 5: At Summary screen, confirm everything is correct, Click Upgrade
Step 6: Prerequisites and Upgrades will now be installed.
Step 7: The install will require a reboot, click Close and reboot will be initiated

Step 8: Server will be rebooted.

Step 9: Post Install upgrade will continue and Finish Successfully.

Step 10: At Smart Tools, Select i do not want to connect to Smart Tools or Call Home(i will cover this off in a separate blog about Smart tools). Click Next

Step 11: Click Finish to complete the upgrade. Ensuring Launch Studio is still ticked.

Step 12: Repeat this on exactly half of the delivery controllers on the site.
Step 13: Launch Citrix Studio, click Start the automatic Site upgrade

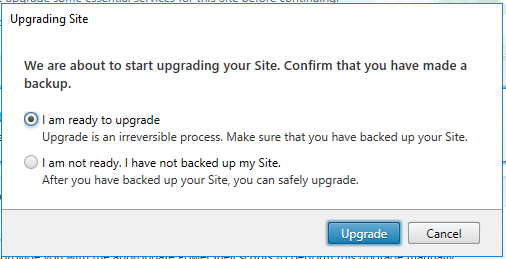
Step 14: Select, I am ready to upgrade. Click Upgrade
Step 15: Upgrade of Site/DB’s will begin and take a few minutes

Step 16: Site upgrade will show as complete when done.

Step 17: In Citrix Studio\Common Tasks\Site – Perform Site Test and confirm all tests pass successfully.

Step 18: Repeat this the rest of the delivery controllers on the site.