| 1 – Launch the License Server Setup.
2 – At the Software License Agreement Screen, Tick “I have read, understand and accept the terms of the license agreement.” Click “Next”
3 – Leave installation location as default “C:\Program Files\Citrix”, Click “Next”
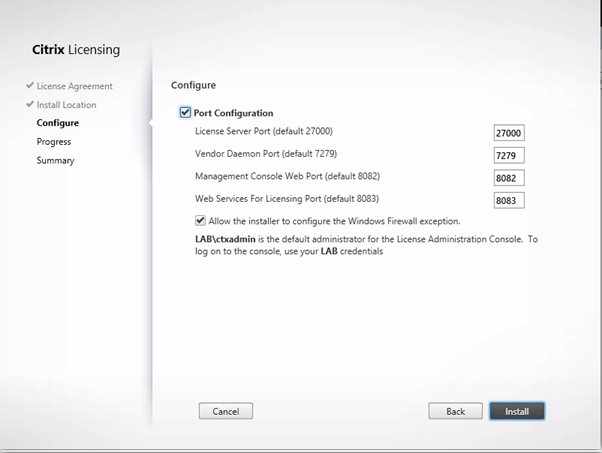
4 – Accept Default Ports (unless required for other reasons) , Click “Install”
5 – License Server will being installing, with a progress bar showing percentage completed.
6 – Installation will be Complete, and indicate a Successfull Installation
7 – Your default browser will open with the correct URL for the Citrix License Administration Console. Click on “Continue to this website” to move past the SSL warning.
8 – Click on Administration
9 -You will be prompted to log on. (Use the user account used to install the Citrix Licensing Server) to log on. Click on Submit.
10 – Click on Vendor Daemon Configuration in the menu on the left site. Then click on Import License.
11 – Now click on Browse to locate your license file. Then click on Import License.
12 – Now switch back to your browser and reload (or re-open) the Citrix License Manager Console and go to the Dashboard. Your licenses should now be visible.
|