
For this article and the current LAB that i have setup, we will be using XenCentre for the Hypervisor appliance required for installing XenMobile.
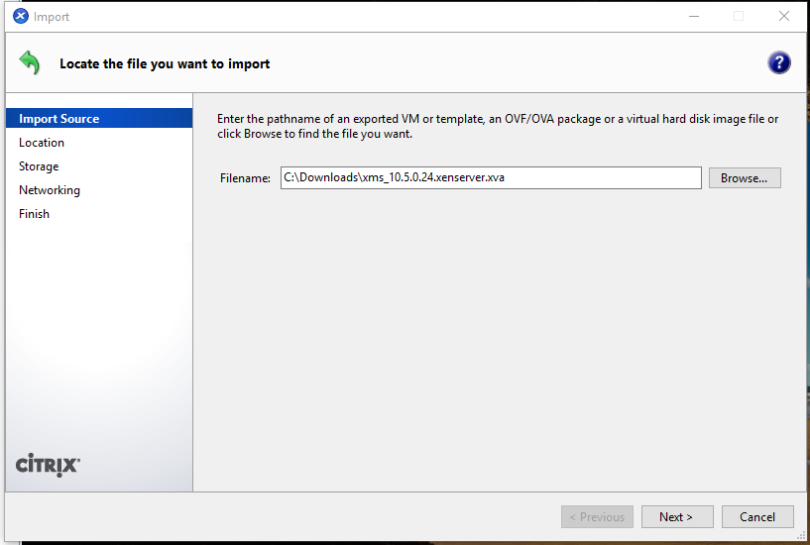
Step 1: On XenCenter . Click File – > Import
Step 2: Browse to XVA (downloaded from Citrix). Click Next
Step 3: Select Host Server (LAB-XENSERVER), Click Next

Step 4: Select the storage repository (Local Storage on LAN-XENSERVER), Click Import

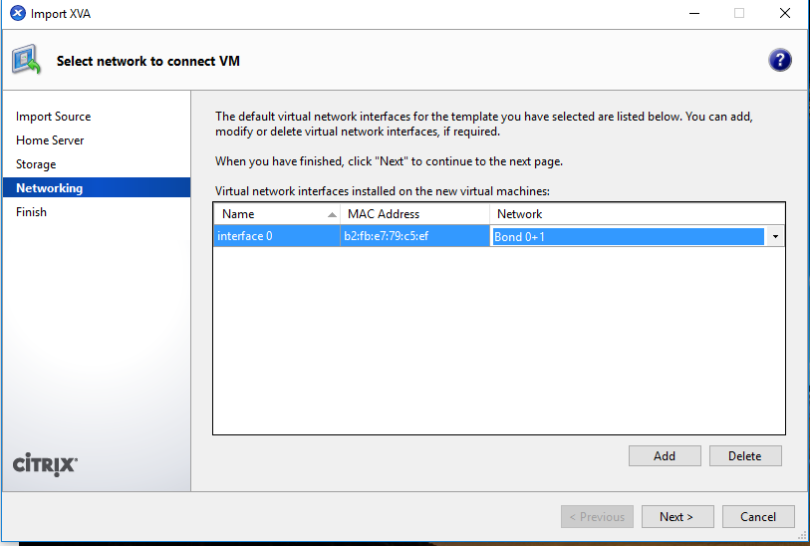
Step 5: Select the correct network interface (Bond 0+1), Click Next
Step 6: Confirm Import Setting, Click Finish. The VM will boot when process is complete

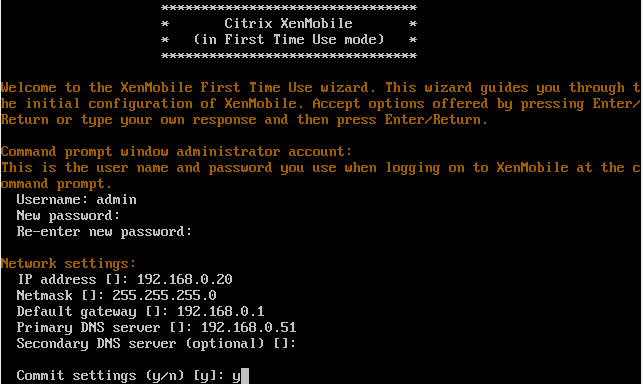
Step 7: Open console to the new VM, enter a new password, and re-enter new password. Hit Enter

Step 8: Enter the following network settings, and commit changes by entering Y, Hit enter.
- IP Address: 192.168.0.20
- Net Mask: 255.255.255.0
- Default Gateway: 192.168.0.1
Step 8: Enter the following details, then commit setting by typing Y , Hit Enter
- FIPS Mode : No
- Databse Connection Local or Remote: Remote
- Microsoft SQL or PostgreSQL: Microsoft
- Server Name: LAB-SQL.LAB.LOCAL
- Username: sa
- Password:
- Datbase Name: XM_DB_Service

Step 9: Enter HostName , LAB-XM.LAB.LOCAL and then commit setting by typing Y , Hit Enter

Step 10: Accept all default ports, but hitting Enter on each then commit setting by typing Y , Hit Enter

Step 11: Enter Instance Name XDM commit setting by typing Y , Hit Enter

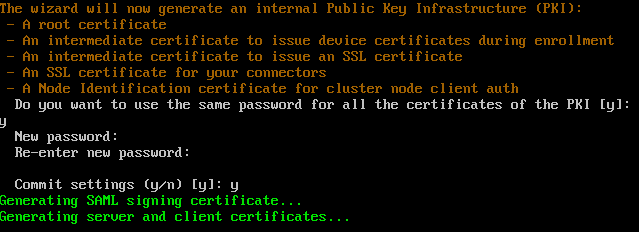
Step 12: Use same password for all certificates, Hit Y and then type a password then commit setting by typing Y , Hit Enter
Step 13: Specify a administrator name (xmadmin) and password and commit setting by typing Y , Hit Enter

Step 14: The system will then begin preparing for access and the below screen will appear when it is ready to be accessed.
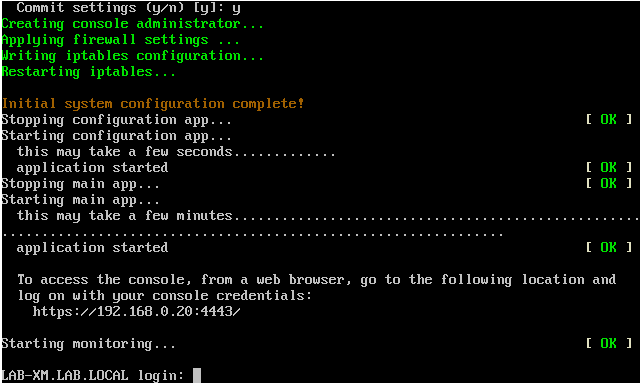
Step 15: Access https://192.168.0.20:4443 and enter the xenmobile administrator account created in step 12 (xmadmin)
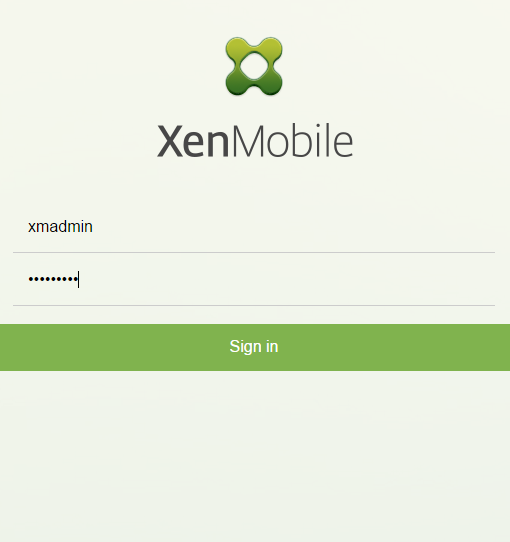
Step 16: Click Start

Step 17: At Licensing, toggle Configure license

Step 18: Enter the following information
- License Type: Remote Server
- License Server: LAB-DDC1
- Port : 27000
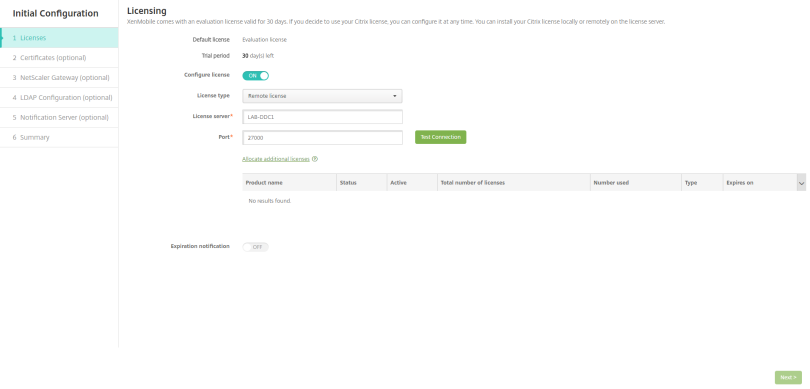
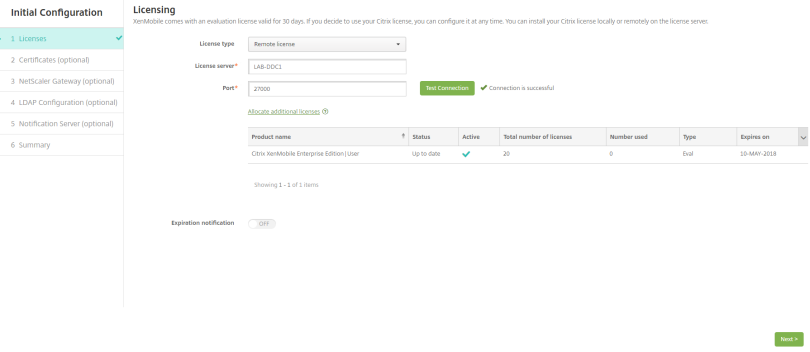
Step 19: Click Test Connection to confirm license is available on License Server

Step 20: High License and Activate will appear at the right hand side. Click Activate

Step 21: Click Activate to overwrite the evaluation license key that comes with XenMobile.

Step 22: Click Next
Step 23: Click Next at Certificates configuration

Step 24: At Netscaler Gateway add the following information, Click Next
- Name: LAB-NS
- Alias : LAB-NS
- External URL : https://citrix.wilkyit.com
- Login type: Domain Only

Step 25: At LDAP Configuration add the following information:
- Directory Type: Microsoft Active Directory
- Primary Server: 192.168.0.51
- Port: 389
- Domain Name: LAB.LOCAL
- User ID: svc-nsread (Re-used the existing netscaler service account for AD)
- Password: password during account setup.
All other fields are populated. Alter has per your preference.

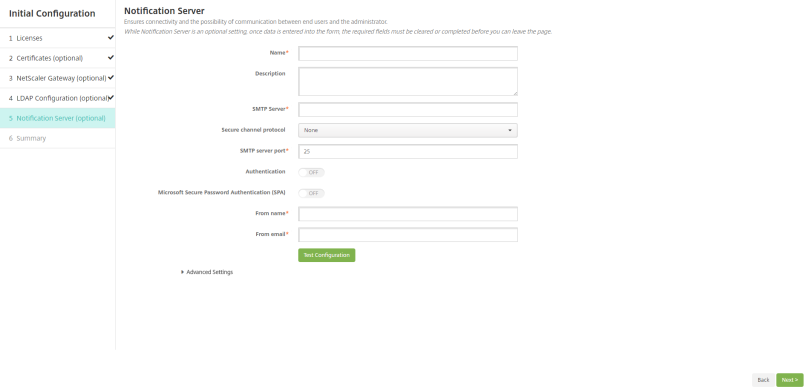
Step 26: At Notification Server. Click Next
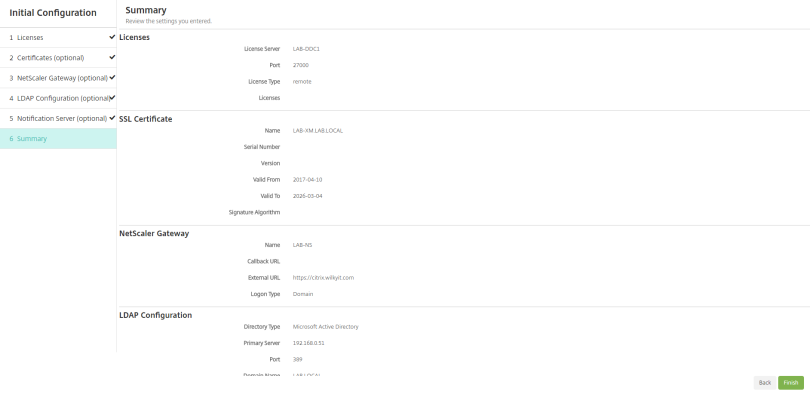
Step 27: At Summary confirm all the details, Click Next
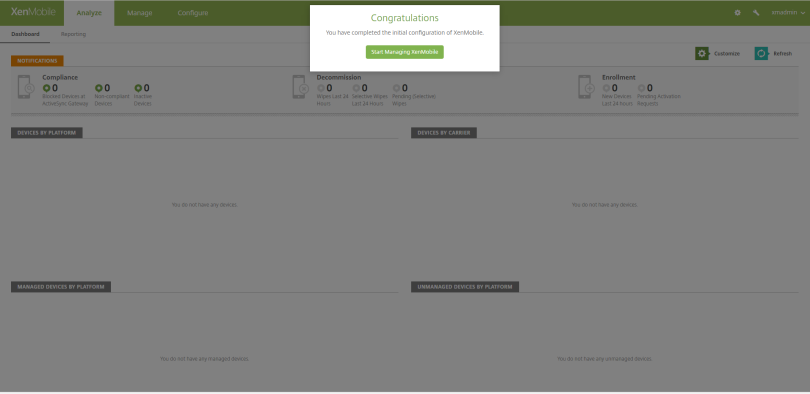
Step 28: Next screen will confirm setting has been setup. Click Start Managing XenMobile
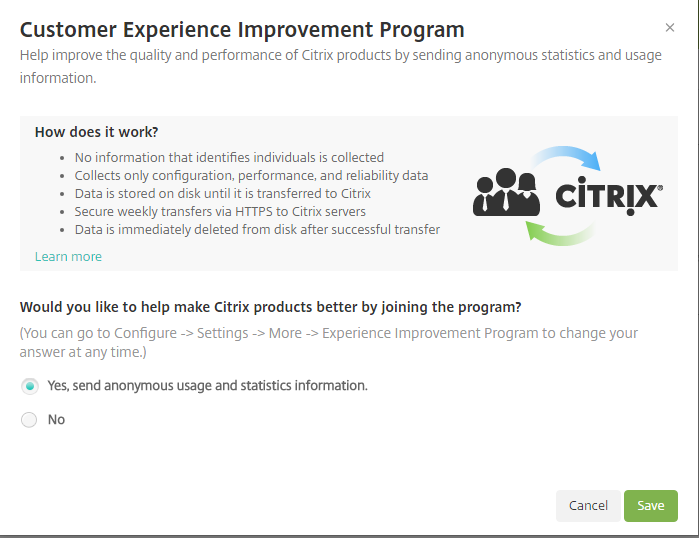
Step 29: Click Save at the CEIP Window.
You are not ready to begin Configuring XenMobile 10.5