
What’s new in Citrix Application Layering 4.10
- Windows 10 version 1709 support. Windows 10 version 1709 is now supported when Store Apps are disabled. Use the script included in our OS Machine Tools package to turn off Store Apps. Because Store Apps must be disabled, we can only support Windows 10 editions where this is possible to do: Enterprise and Education, but not Professional. If you have been using Store Apps on their 1607 setup, they will have to re-create their App and Platform layers from scratch after upgrading to 1709 and disabling Store Apps.
- Improved support for PVS on Hyper-V and vSphere. This release includes stability improvements when using PVS to stream images on Hyper-V or vSphere systems peformance. (UNI-61938, UNI-65218)
Labs features are early versions of features planned for future releases, they should not be run in a Production Environment but are intended to used for early visibility and testing. The following Labs has been released:-
- User Layers. User layers let you persist user profile settings, data, and user-installed applications in non-persistent VDI environments. This feature is supported in Windows 7 64-bit and Windows 10 64-bit environments for Citrix XenDesktop, VMware Horizon View, and View JIT.
- App layers can be elastically assigned to layered images that use a different OS layer. Until now, elastic layer assignments required that the App layer assigned use the same OS layer that was used to create the App layer. Now you can elastically assign App layers using other OS layers available on your App Layering appliance. There is no guarantee that the app layer will work on a different OS layer, but now you can try it. If it does not work, then disable this feature on the layer and only use the OS that the app layer was created with. In addition, you must use the original OS layer when adding versions to your application layer.
Known Issues & Considerations for Citrix Application Layering 4.x
- App Layering 4.10 – https://docs.citrix.com/en-us/citrix-app-layering/4/whats-new/4-10.html
- App Layering 4.9 – https://docs.citrix.com/en-us/citrix-app-layering/4/whats-new/4-9.html
- App Layering 4.8 – https://docs.citrix.com/en-us/citrix-app-layering/4/whats-new/4-8.html
- App Layering 4.7 – https://docs.citrix.com/en-us/citrix-app-layering/4/whats-new/4-7.html
- App Layering 4.6 – https://docs.citrix.com/en-us/citrix-app-layering/4/whats-new/whats-new-in-app-layering-4-6.html
- App Layering 4.5 – https://docs.citrix.com/en-us/citrix-app-layering/4/whats-new/whats-new-in-app-layering-4-5.html
- App Layering 4.4 – https://docs.citrix.com/en-us/citrix-app-layering/4/whats-new/whats-new-in-app-layering-4-4.html
- App Layering 4.3 – https://docs.citrix.com/en-us/citrix-app-layering/4/whats-new/whats-new-in-app-layering-4-3.html
- App Layering 4.2 – https://docs.citrix.com/en-us/citrix-app-layering/4/whats-new/whats-new-in-app-layering-4-2.html
Importing Citrix Application Layering 4.x Appliance
NOTE: This screenshots been based on version 4.5, but apply to all versions.
Step 1: Select XenServer in XenCentre (in this case CTXLAB-XENHOST)

Step 2: Select File, Click Import
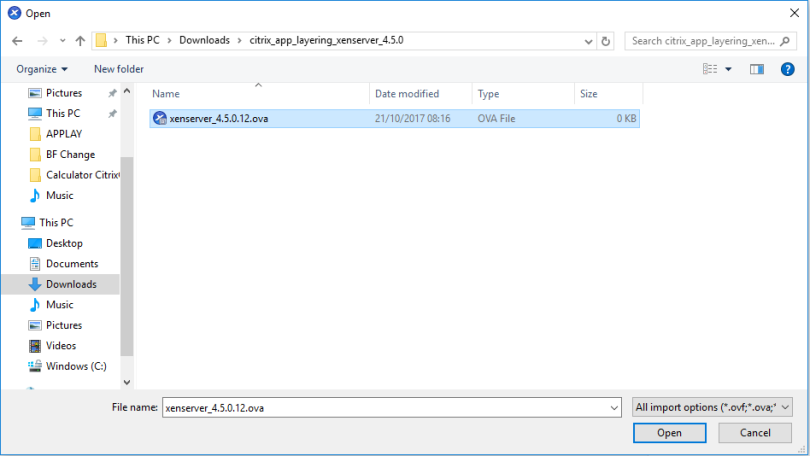
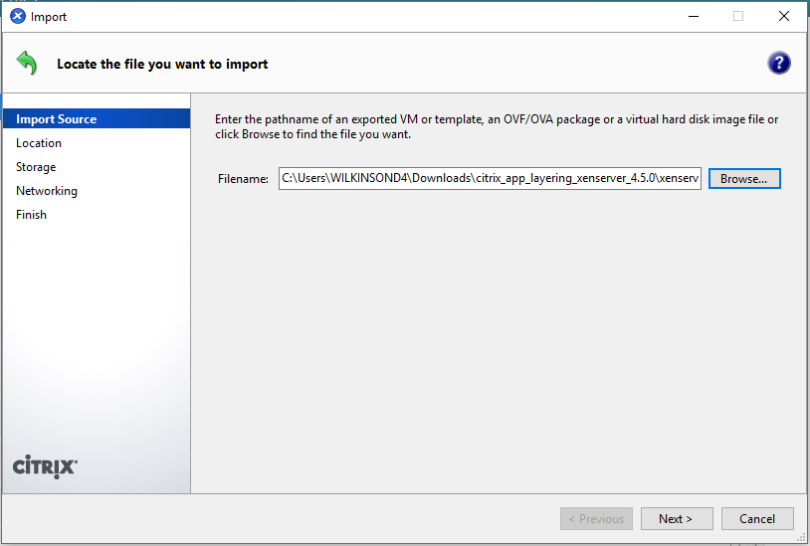
Step 3: At locate the file you want to import , click browse
Step 4: Browse for the OVA file (xenserver_4.5.0.12.ova), Click OK. This can be downloaded at http://citrix.download.com
Step 6:Click Next to begin Import
Step 7: Select i accept the end user License Agreement, Click Next

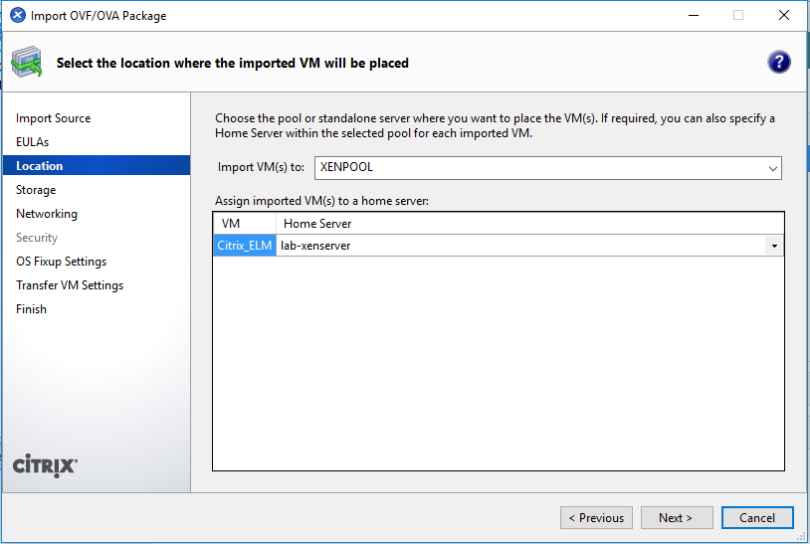
Step 8: Accept default Pool/Home Server. Click Next
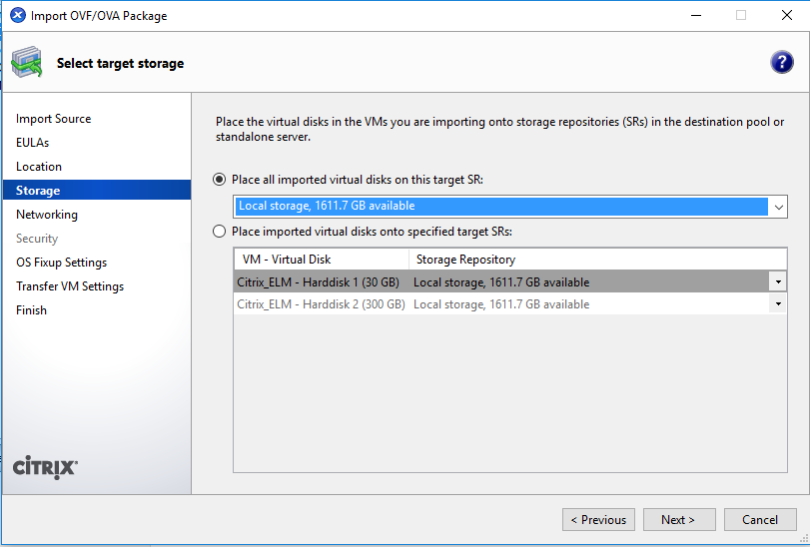
Step 9: Select Place call imported virtual disk on this target SR (Local Storage)
Step 10: Leave virtual network interface as default, click Next

Step 11: Select Don’t use Operating System Fixup. Click Next

Step 12: Set IP Address using DHCP, Click Next

Step 13: At Review the import setting, Confirm setting and click Finish

Step 14: At bottom of XenServer XenCentre you see the import progress and disappear when complete.
![]()
Step 15: Confirm the VM is imported, it will by default import as Citrix ELM

Configuring Citrix Application Layering 4.x Appliance
Step 1: Power UP VM and login with default username and password (administrator/Unidesk1)

Step 2: App Layering appliance configuration will appear.

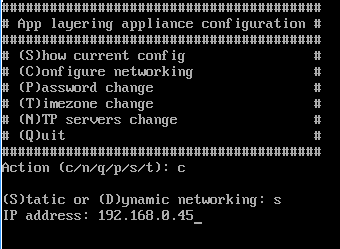
Step 3: Enter C, hit Enter, Select Static by entering S to Configure Networking

Step 4: Enter IP Address (my case 192.168.0.45), Hit Enter
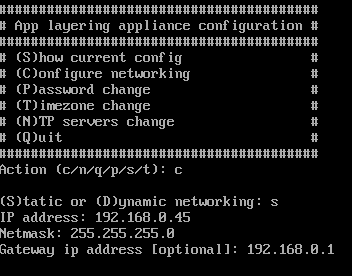
Step 5: Enter Netmask (my case 255.255.255.0), Hit Enter

Step 6: Enter Default gateway (my case 192.168.0.1), Hit Enter
Step 7: Enter DNS Option 1(my case 192.168.0.51), Hit Enter

Step 8: Enter DNS Option 1 (my case i left blank), Hit Enter. Enter S to Save Settings

Step 9: Network Services will be restarted

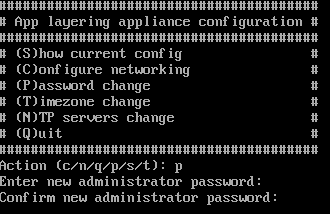
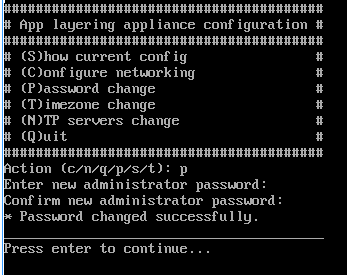
Step 10: Enter P, Hit Enter to change password of appliance

Step 11: Enter new password, Hit Enter

Step 12: Confirm new password , hit Enter
Step 13: Password will be confirm successfully change, press any key to return to main configuration options.
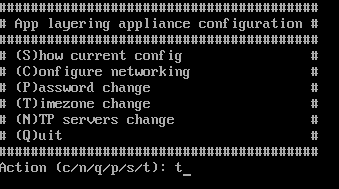
Step 14: Type T , hit Enter to configure timezone
Step 15: Enter 341 for timezone (Europe/London), Hit Enter
![]()
Step 16: Type Y to set Timezone, Hit Enter
![]()
Step 17: Press any key to return to configuration menu.

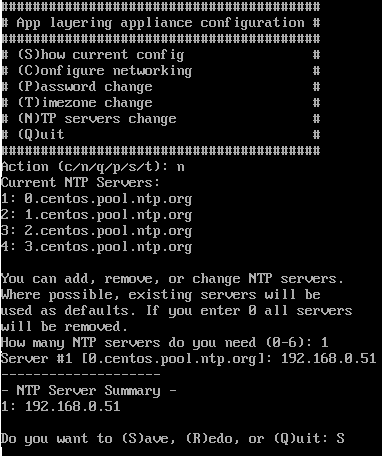
Step 18: Type N, Hit Enter to Configure NTP Server

Step 19: Type 1 to set number one NTP Servers (in my case), Hit Enter

Step 20: Enter NTP Server (my case 192.168.0.51), Hit Enter

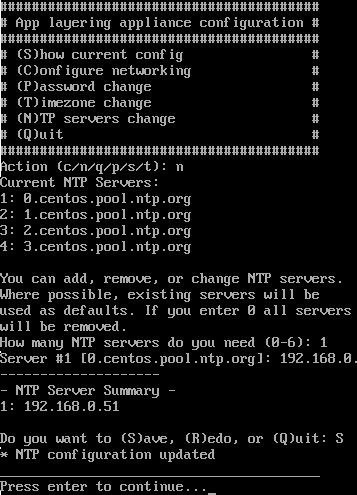
Step 21: Type S to confirm saving of NTP Server.
Step 22: Press any key to return to the configuration menu.
Step 23: Access the Appliance via IP Address set on Step 4 over SSL (https://192.168.0.45) click Continue to this website
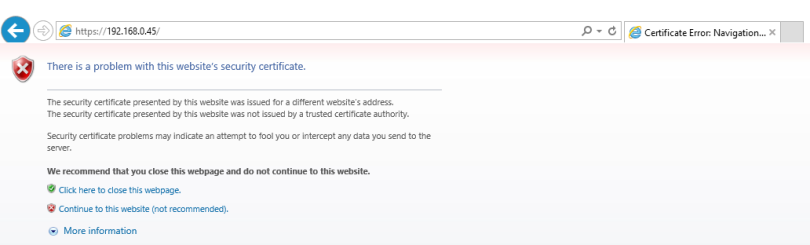
Step 24: Confirm login screen successfully loads

Step 25: Login to Website with default username/password (administrator/Unidesk1)

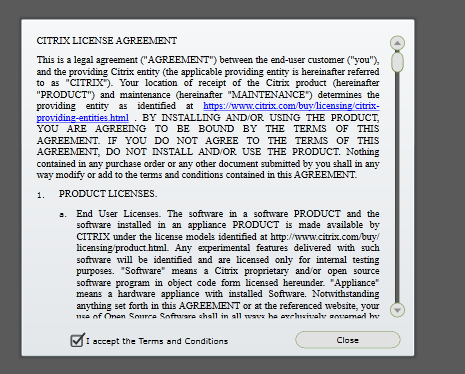
Step 26: Tick i accept the terms and conditions. Click Close
Step 27: Setup Login credentials will appear , click Down Arrow

Step 28: Set a password for the following logins as defined in the window. , click Down Arrow
- Management Console
- Appliance (ELM)
- ELM Configuration Tool
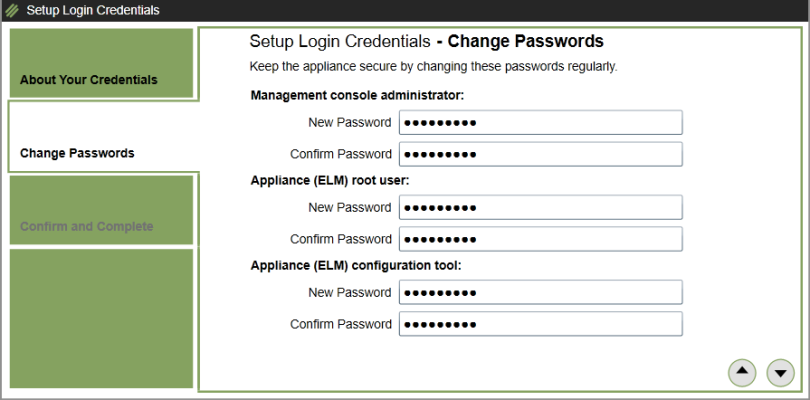
Step 29: Click Change Credential to setup new passwords

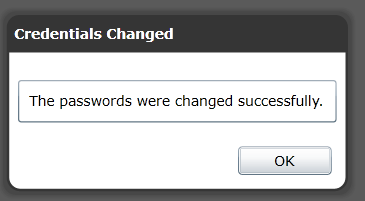
Step 30: Credentials change will appear when successfully changed. Click OK
Step 31: At Welcome to… Click Close
Step 32: Select Users Menu/Select Directory Service and Click Create Directory Junction

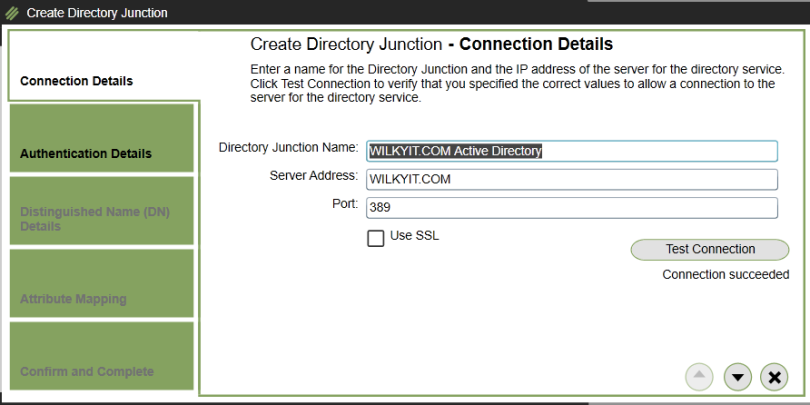
Step 33: Enter Connection details as below, Click Test Connection. Click Down Arrow
- Directory Junction Name: WILKYIT.COM Active Directory
- Server Address : WILKYIT.COM
- Port: 389
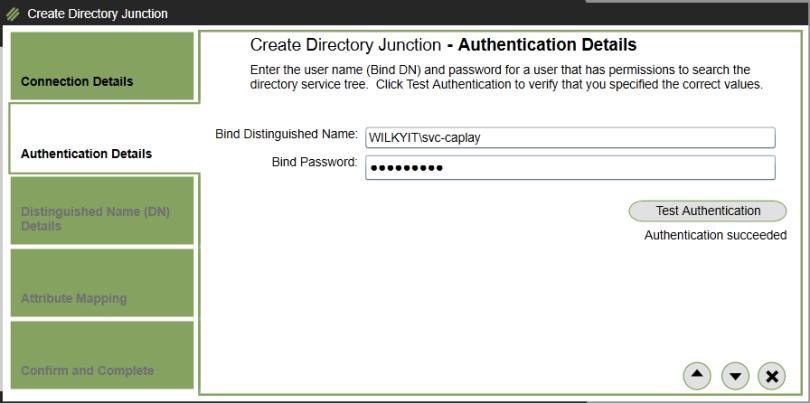
Step 34: Enter Authentication details as below, Click Test Authentication. Click Down Arrow
- Bind Distinguished Name: WILKYIT\svc-caplay
- Bind password : As set on Account
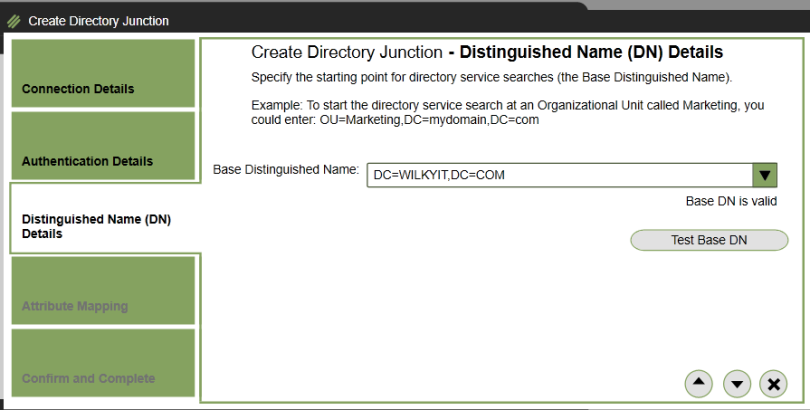
Step 35: Enter Base DN, in my case i have specific all of active directory but this can be limited to OU. Click Test Base DN. Click Down
Step 36: leave all user attributes as default. Click Down 
Step 37: Confirm all settings are correct, Click Create Directory Junction
Step 38: Directory Service will now list the newly created Directory Junction
Step 39: Select Directory menu will show the Active Directory OU/User etc.
Step 40: Select the AD Administrator User for App Layering (WILKYIT\Labapplayadmin), Select Edit Properties

Step 41: Browse to Role, Select Administrator Role. Click Down Arrow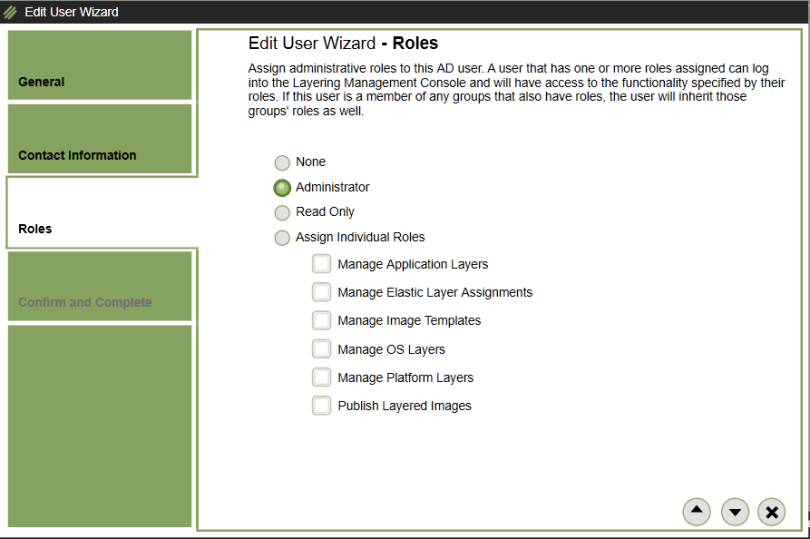
Step 42: Confirm all settings are correct, Click Update User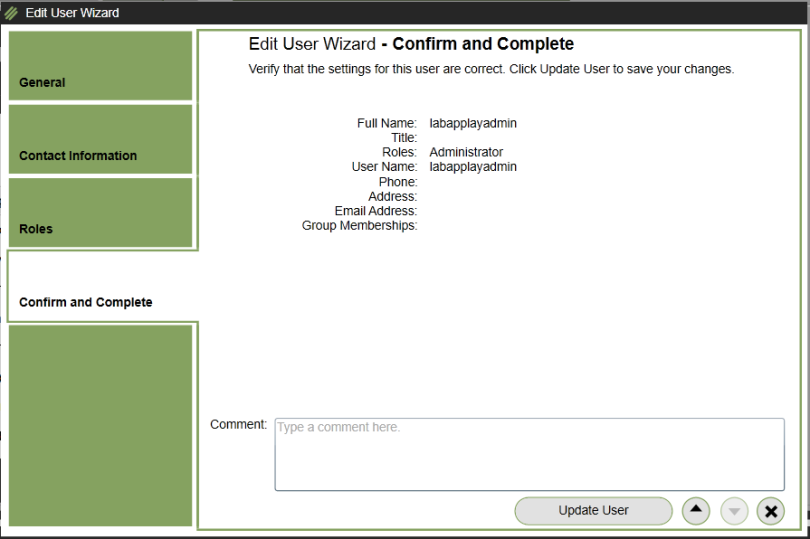
Step 43: The Administrator user will now appear highlighted to distinguish as different.![]()
Setup File Share
Step 1: Create a new Share with a new service account (WILKYIT\svc-citrixelm) and ensure full control.
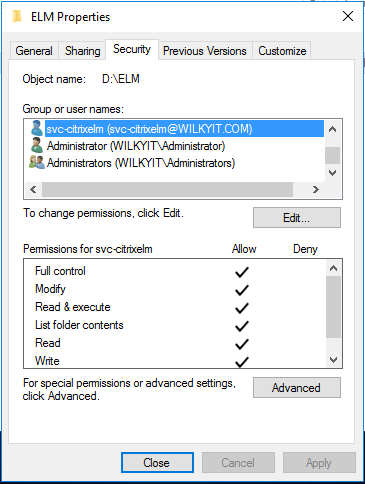
Step 2: Ensure you share the folder and All Users has Read permission to share
In My exampple a new share is created on “\\Lab-dc1\elm”
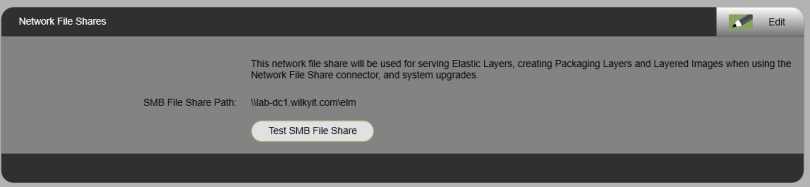
Step 3: Log into Administration Console of Apply Layering , Browse to System\Settings and Configuration. Click Edit
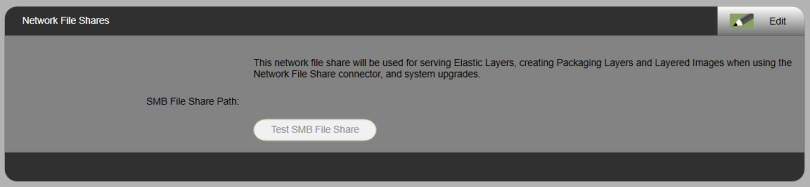
Step 3: Enter SMB File Share (Created in Step 1), Username/password of citrix elm service account, Click Test SMB File Share. Click Save
Step 4: SMB File Share Path is now listed as the File share for elastic layering.
NOTE: Following the below section if you are using PVS for your Image deployment.
Upgrading Appliance
Inspecting the ELM share contains \UniDesk\Upgrade Disks\[Version]\ the appliance has already downloaded made available the new VHD.

Step 1: Login into ELM
Step 2: The Upgrade Available message will be displayed, Click Start Upgrade

Step 3: The Upgrade Disk/Network File Share is autopopulated, click the down arrow

Step 4: At Confirm and Complete, Click Upgrade

Step 5: The following message will be displayed during the upgrade.

Step 6: Once upgrade is complete the below message will be displayed confirming the upgrade status as complete. At this stage you should access the ELM URL and login as usual.

Install Citrix App Layering Agent on Citrix Provisioning Server (if applicable)
Obtain the “citrix_app_layering_agent_installer.exe” from the Applicaiton Layering 4.5 download from Citrix Download.
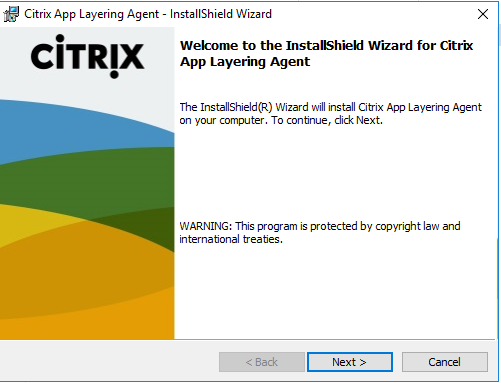
Step 1: At Welcome screen, Click Next
Step 2: Select i accept the terms in the license agreement, Click Next

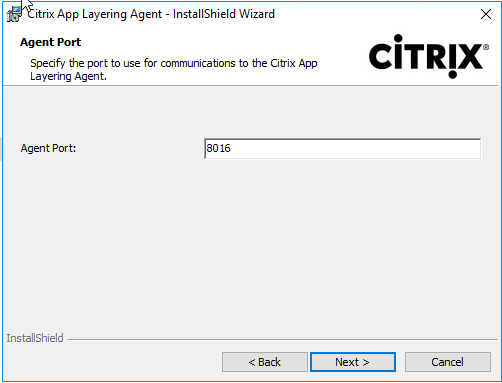
Step 3: Leave Agent Port as default 8016, Click Next
Step 4: At Ready to Install the program, Click Install

Step 5: Application layering agent will install now and take a few minutes..

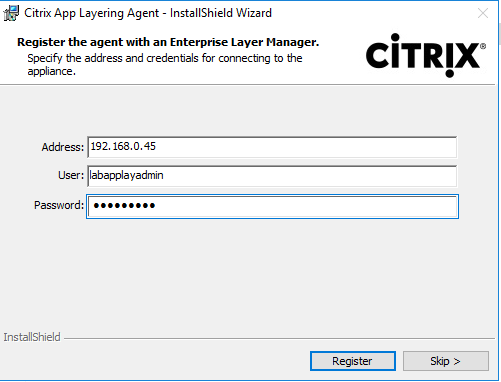
Step 6: At register agent with ELM, enter the following information. Click Register
- ELM Address : 192.168.0.45
- User: labapplayadmin
- Password: password for user
Step 7: Click Finnish after successful installation.

See the continuing articles to progress Application Layering setup/testing.
Hi There, Have you published the next part on this topic of app layering? if so can you please provide a link?
Hi Anup, I am in the middle of writing the 2nd part after a gap in time due to workload. I hope to have this completed by friday if that helps?
Hi there , have you had a chance to finish writing and posting part 2 yet by any chance?
Hi Keith, just published a few days ago
https://wilkyit.com/2017/10/21/citrix-application-layering-4-x-creating-os-layer-platform-layer/
Also another follow-on which i am working on now on creating app layer.template and publishing. Should be ready in a day or so
Step-25, the password was not changed in step-10?
Step-28, does that change the password from stem-10 also?
Hi,
There is two separate password. One for ELM virtual appliance (step10) and another for management web console interface which is a different . So step 10 is different username and password.
Many thanks
David
Hi Wilky,
I haven’t implemented App Layering Tech. in the Citrix Environment before. I am looking to implement and test this within the Citrix PVS environment. The AppLayering implementation here seem to be sufficient to start from point A-Z. Are there any other requirements i need to take note of or anything more i will need implementing this product within my Environment?
Thanks
Thanks
I understand you need an OS (like Win10 or 2012) as an “installation machine” only and once app layers are created you can simply elastically assign those to VDI’s created out of other technologies like PVS and MCS. I don’t want to use app layering to create my OS images just the apps. If I am correct do I then only need the agent on the VDIs to enumerate the apps?