
Create App Layer
See Citrix CTX225952 (4.x Layering Best Practices) – https://support.citrix.com/article/CTX225952
For the following example we will use Office 2016 x86 to demonstrate application layers
Step 1: Go back to ELM Appliance , Select Layers>App and Select Create App Layer

Step 2: Enter layer Name and version number. Then click down arrow

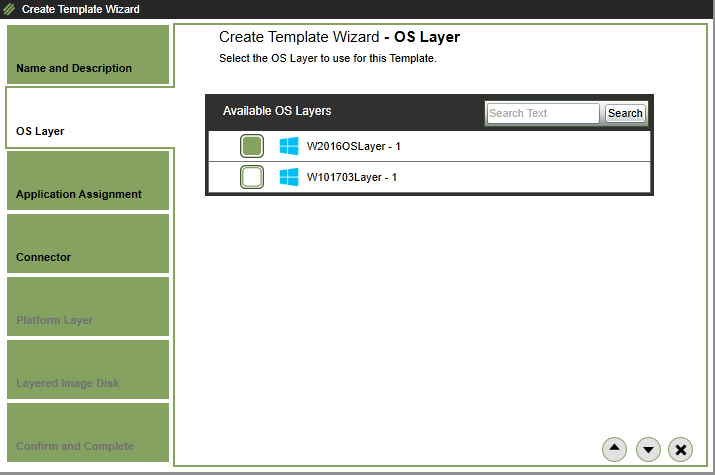
Step 3: Select the OS Layer (I will choose W2016OSLayer). Then click down arrow
Step 4: Leave as default(as no prerequisites exist for our Office 2016 test) , Then click down arrow
Step 5: Select the “XenServer – XENSERVER-POOL” Connector, Then click down arrow
Step 6: Leave as default (as i am deploying to different hypervisor), Then click down arrow
Step 7: Leave as default (it uses the layer name ), or change if required, Then click down arrow

Step 8: Choose appropriate icon for layer, Then click down arrow

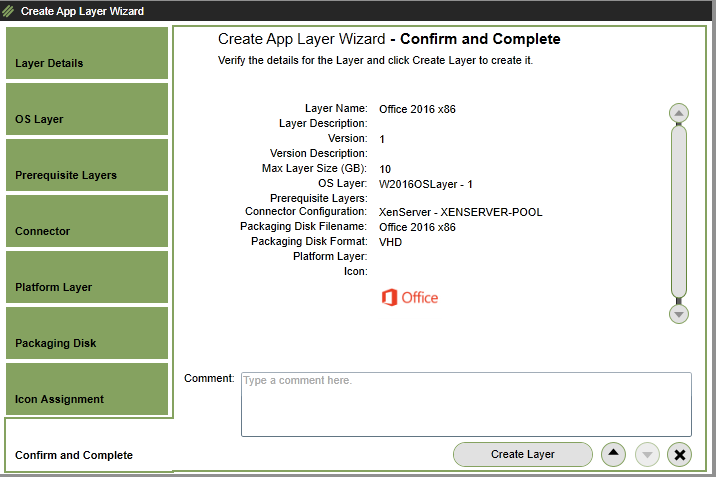
Step 9: Confirm details are all correct , Click Create Layer
Step 10: At the bottom of screen, expand task windows and a task will be created for Creating the App Layer

Step 11: Once complete, a message requiring an action will be displayed with a VM machine

Step 12: Power on the machine name listed in the message(if not powered on automatically)
![]()
Step 13: Login in and Install Microsoft Office 2016

Step 13: Browse to “C:\Windows\Setup\scripts\” and Launch Optimize.hta. Under Section “H” Select “Activate MS Office via KMS“.
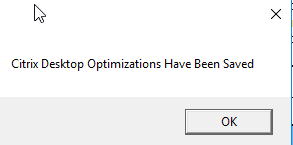
Step 14: Click “Save Settings A-J”
![]()
Step 15: The tool will now save “Office2013Windows81_PREP.cmd” in the “C:\Windows\Setup\scripts” directory. Run this as administrator
Step 16: Then once complete, Double-Click “Shutdown for Finialize”

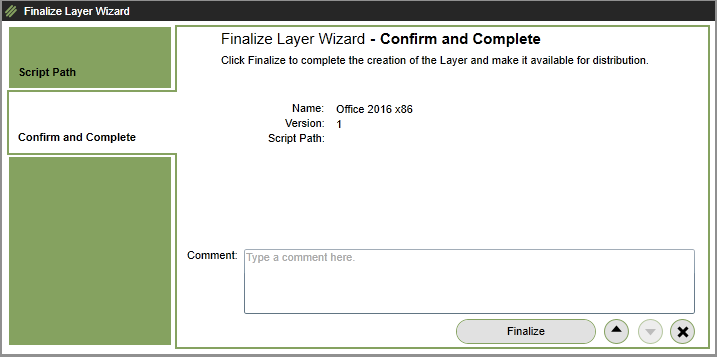
Step 17: Go back to ELM Appliance , Select Layers>App and right Click the App Layer created and Click “Finalize”

Step 18: At Script path, leave as default, Then click down arrow
Step 19: Then click “Finalize”
Step 20: At the bottom of screen, expand task windows and a task will be created for Finalizing the App Layer

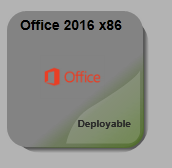
Step 21: The App Layer will complete and then become deployable as per below screenshot.
Create Template
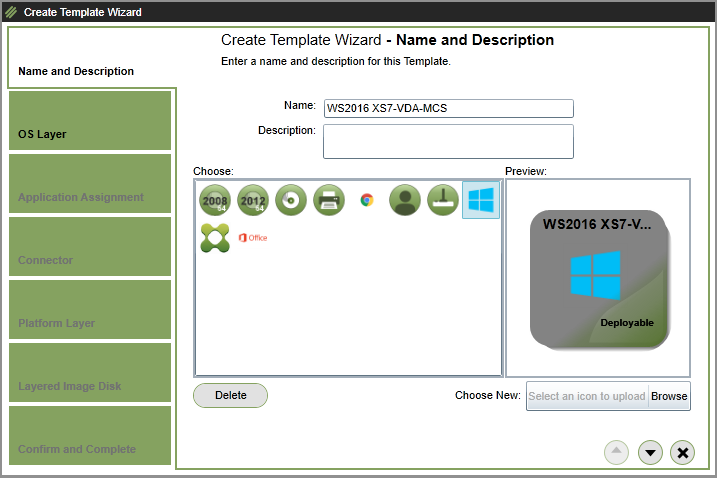
Step 1: Go back to ELM Appliance , Select Images> Select Create Template

Step 2: Enter a description (WS2016 XS7-VDA-MCS) , Then click down arrow
Step 3: Select the OS Layer (in my case W2016Layer -1), Then click down arrow
Step 4: Select the application assignment, Office 2016 x86 -1 which was created in previous section , Then click down arrow

Step 5: Select the “XenServer – XENSERVER-POOL” Connector, Then click down arrow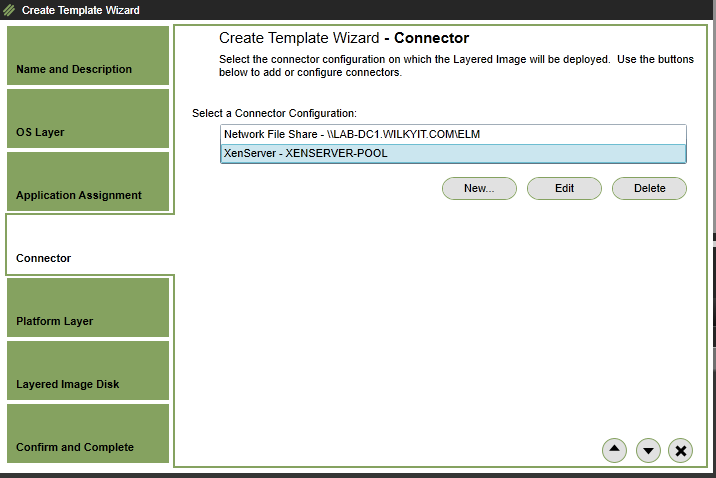
Step 6: Select the Platform Layer (created in previous article) XS7-XD-MCS – 7.15, Then click down arrow

Step 7: Enter the following info, Then click down arrow
- Layered Image Disk Filename: WS2016 XS7-VDA-MCS
- Layered Image Disk Size : 100 (default)
- Sysprep: not generalized (default) This will be done by MCS
- Elastic Layering: NONE (default) This will covered later on in article.

Step 8: Confirm details are all correct , Click Create Template

Step 9: At the bottom of screen, expand task windows and a task will be created for Creating the template.
Step 10: Select Image Template created> Click Publish Layered Image
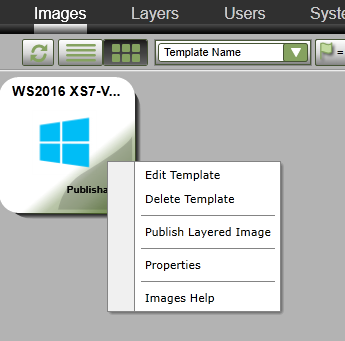
Step 11: Click Publish Layered Image

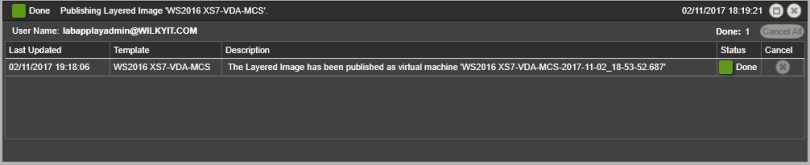
Step 12: At the bottom of screen, expand task windows and a task will be created for Publishing Layered Imaged

Step 13: Go back Citrix Studio > Machine Catalog. Right Click and Click Create Machine Catalog

Step 14: During creation of the Machine , upon selecting the master image. Choose the Published Layered Image “Windows 2016 VDA-2017-10-22-22-49.029”.

That’s Creating App Layers, Template and Publishing section completed.
Hi
Thank you for this step-by-step instruction, I have one question
“Step 13: Go back Citrix Studio > Machine Catalog. Right Click and Click Create Machine Catalog”
Does this mean a separate Deliver Controller is required to setup?
You don’t need a separate delivery controller specifically for App Layering, your existing setup can be used.