
Starting with a Basic Windows Server 2016 VM, the following need to be completed to prepare a Citrix Master Image for PVS.
Install Citrix VDA on Base PVS Image
Step 1: Open ISO Image (D:\ drive as per below)

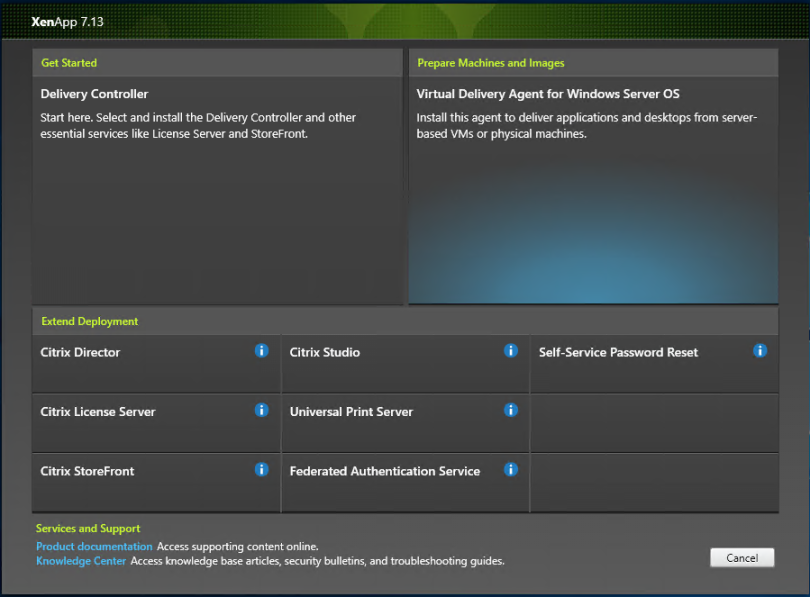
Step 3: Under Prepare Machine and Images , select Virtual Delivery Agent for Windows Server OS
Step 4: At environment, select Create a master image, click next

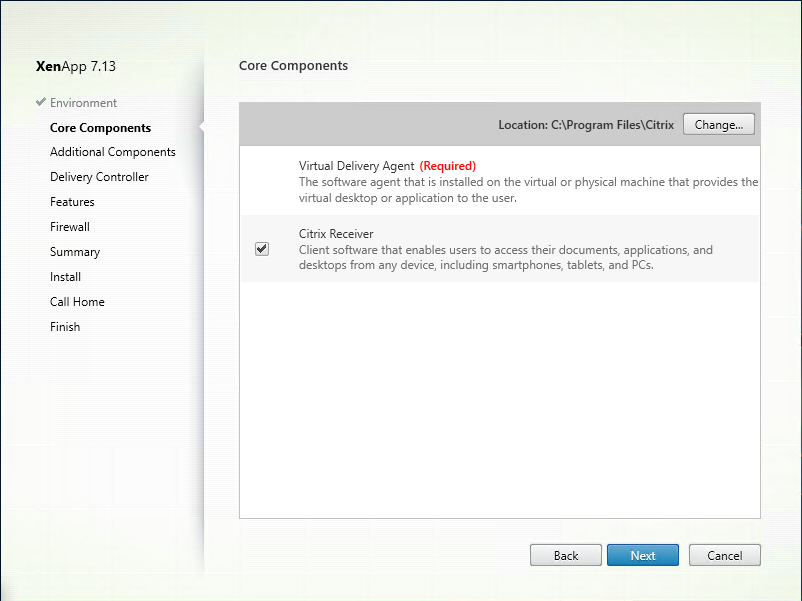
Step 5: At Core Components, leave settings as default and click next
Step 6: At Additional Components, leave settings as default and click next

 Step 8: Add Lab-ddc1.lab.local to controller address and click Test Connection
 Step 9: Click Add
 Step 10: Select Optimise Performance and Use Windows Remote Assistance, click next
 Step 11: At firewall, leave at automatically and click next
 Step 12: At Summary, Click Install
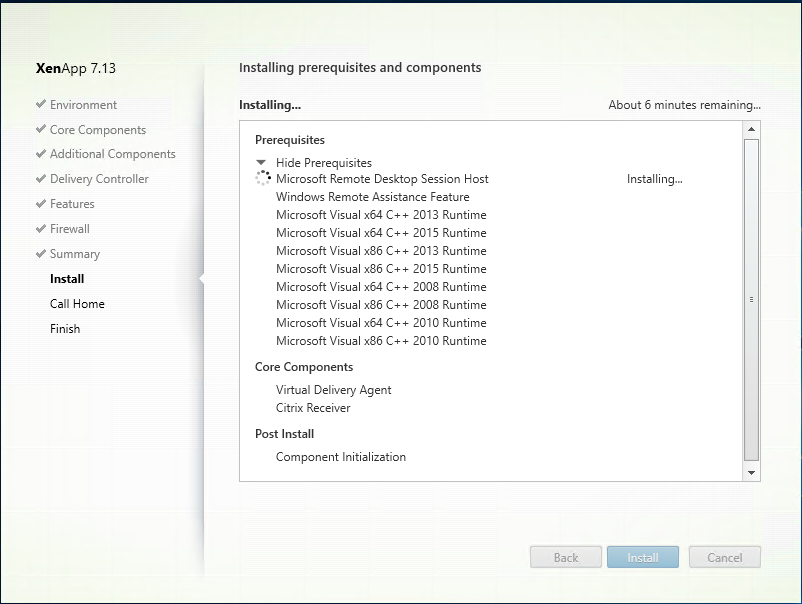
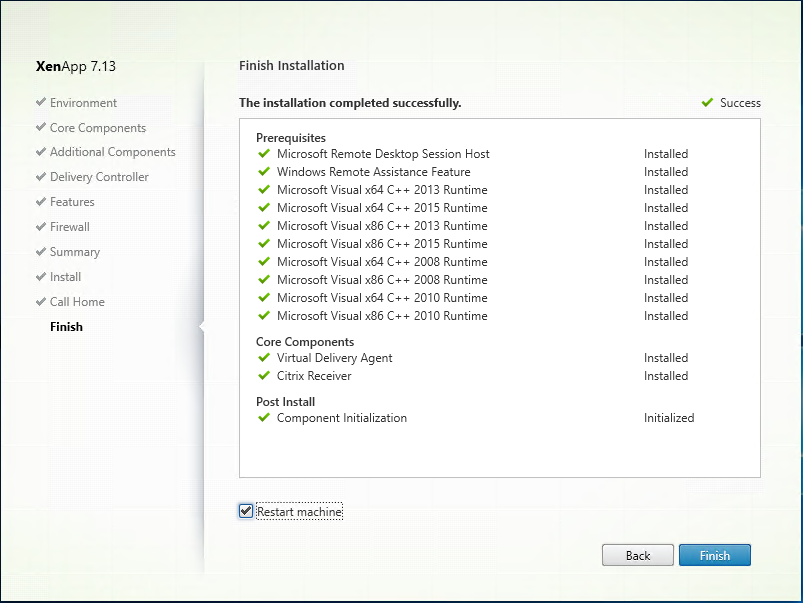
Step 13: Virtual Desktop Agent & Citrix Receiver
Step 14: At Call Home, select I don not want to participate in Call Home

Step 15: At Successful Installation, Click Finish to reboot the server
Install Provisioning Service Target Device
Step 1: Launch Provisioning Service ISO, Select Target Device installation

Step 2: Click Target Device installation

Step 3: Click Install at Pre-requisites

Step 4: Installation will occur, this will take a few minutes

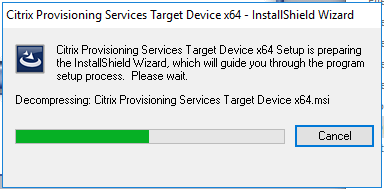
Step 5: The Target Device Installation will decompress.
Step 6: Click Next at Welcome to the Installation Wizard for Citrix Provisioning Service Target Device x64

Step 7: Select i accept the terms in the license agreement, Click Next

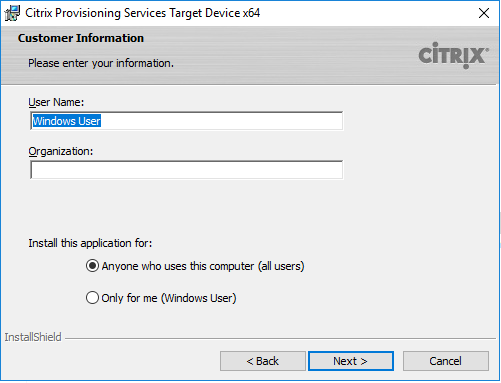
Step 8: Leave as default, Click Next
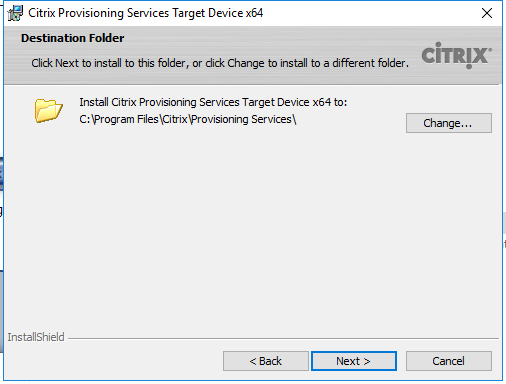
Step 9: Leave Destination folder as default, click Next
Step 10: At Ready to install the program, Click Next

Step 11: Installation will begin and take a few minutes to complete.

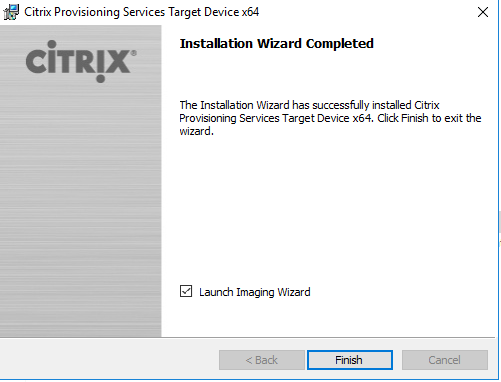
Step 12: Click Finish at Installation Wizard Completed.
Step 13: Click Yes to Restart after installation completed.

Create PVS Image
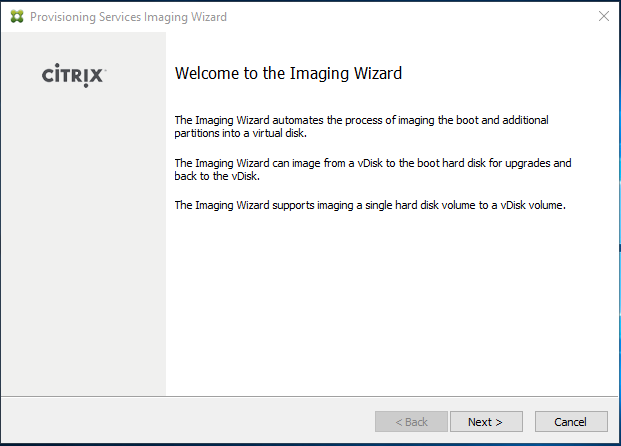
Step 1: Click Start -> Citrix -> Citrix Imaging Wizard, Click Next at Welcome to the Imaging Wwizard
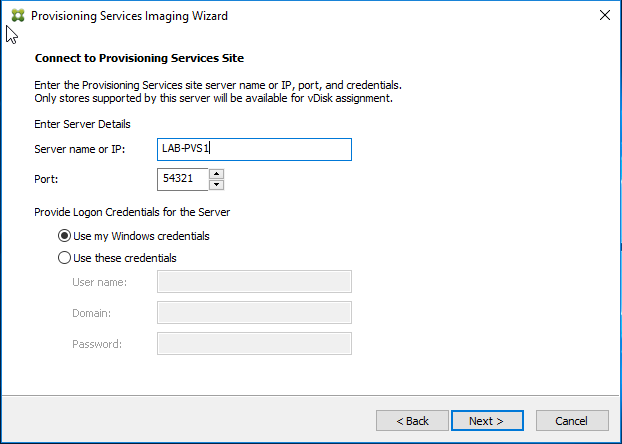
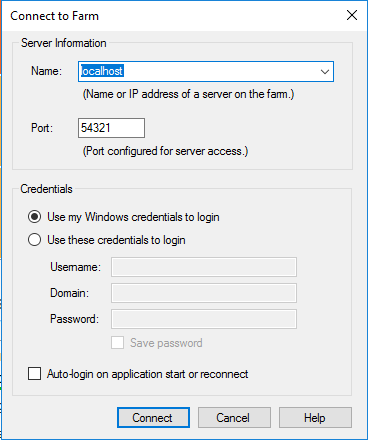
Step 2: At Connect to Provisioning Services site, enter the information below and Click Next
- Server Name or IP: LAB-PVS1
- Port : Leave as default
- Provide Login Credentials for the serve : Use my Windows credentials.
Step 3: Select Create a vDisk, Click Next

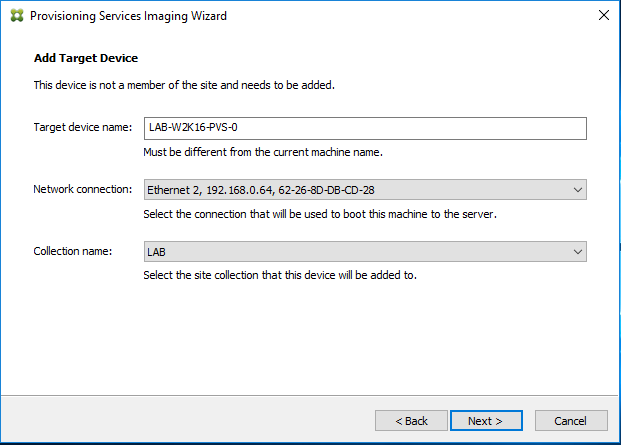
Step 4: At Add Target Device, add the following information. Click Next
- Target device name: LAB-W2K16-PVS-0
- Network Connection: Auto-generated
- Collection Name: LAB
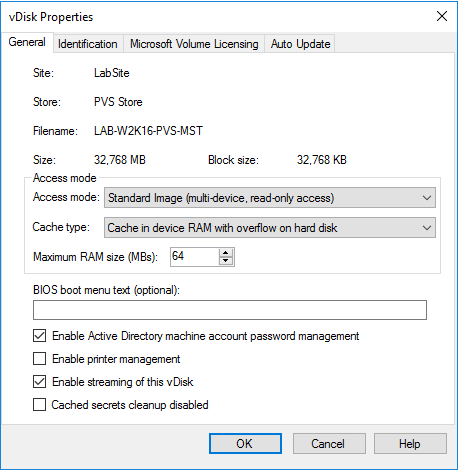
Step 5: At New vDisk, add the following information. Click Next
- vDisk Name: LAB-W2K16-PVS-MST
- Store Name: PVS Store
- vDisk Type: Dynamic
- VHDX

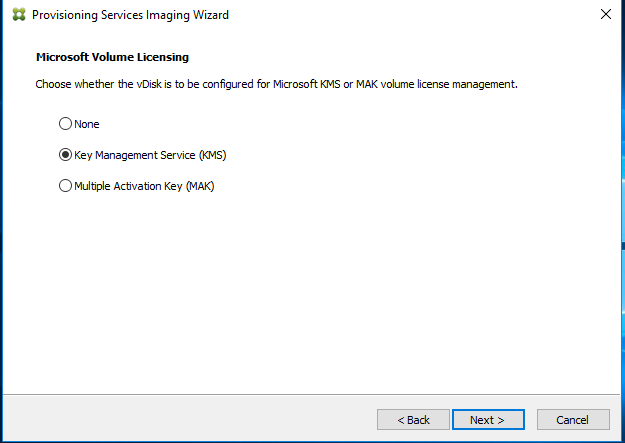
Step 6: At Microsoft Volume Licensing, Choose KMS. Click Next
Step 7: At What to Image, Select Image entire boot disk. Click Next

Step 8: At Optimize Hard Disk for provisioning Services, Select Optimize the hard disk again for provisioning services before imaging. Click Next

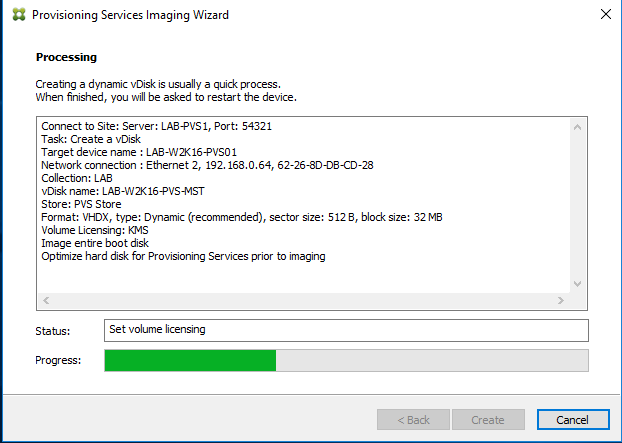
Step 9: At Summary, confirm all the correct settings. Click Next

Step 10: The imaging wizard will run through a number of optimization as previously selected in the wizard.
Step 11: After Optimization is complete, the device will need to be rebooted. Click Continue

Step 12: A prompt will appear, Click Yes to continue. Please ensure VM is set to Network Boot

Step 13: During Reboot, the Network boot should occur as visible with the below appearing during boot.
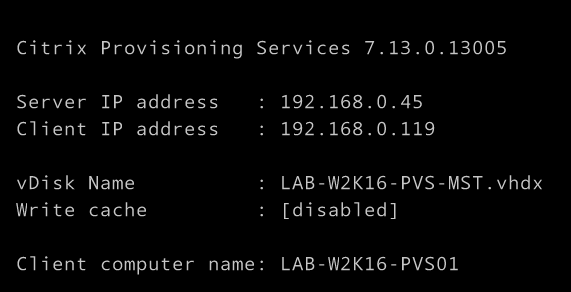
Step 14: Login to Device with credentials that where used to begin image capture, after login occurs the below message will appear
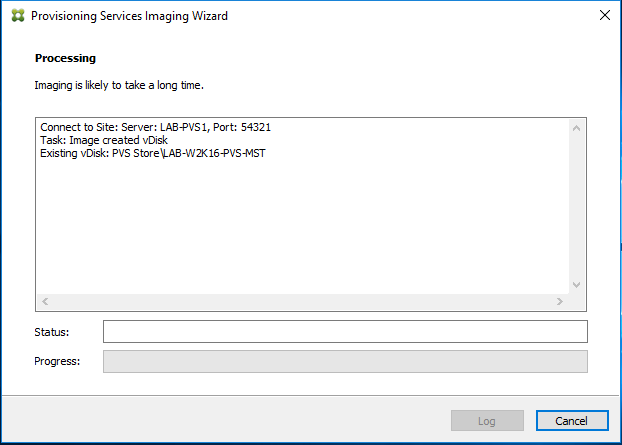
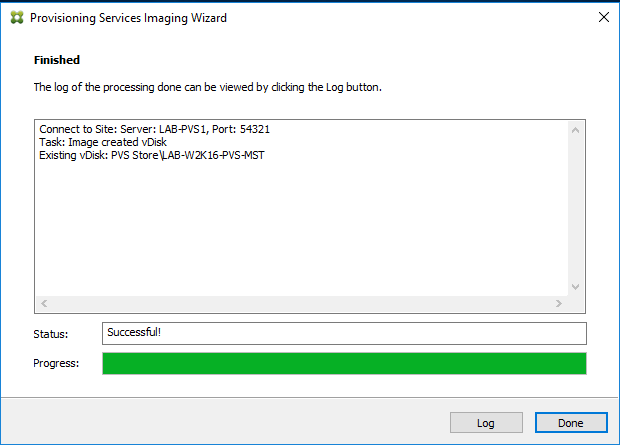
Step 15: The Image capture will begin capturing the image and will store the Image in the PVS Store on the PVS Servers.

Step 16: The Wizard should complete and finish. Click Done to complete image capture.
Assign PVS Image to new Device & Confirm Successful Image
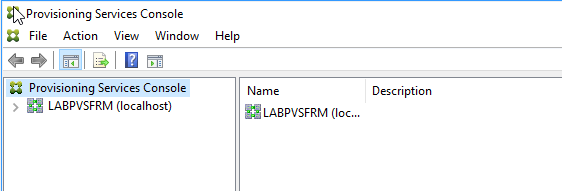
Step 1: Login to PVS Server. Click Start ->Citrix ->Provisioning Console
Step 2: At Server Information, Add LocalHost/PVS Server , leave everything else as default and Click Connect.
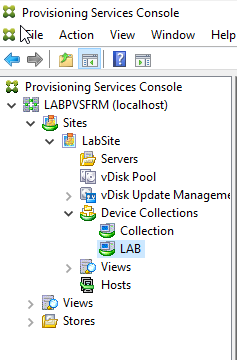
Step 3: The PVS Server Farm will appear
Step 4: Expand the Tree to LABPVSFRM\Sites\LabSite\Device Collections\LAB
Step 5: Right Click Lab Collection , Choose Create Device

Step 6: At Target Device Properties, add the following information.
- NAME: LAB-W2K16-P01
- Type: Production
- Boot from: vDisk
- MAC Address: 8E-61
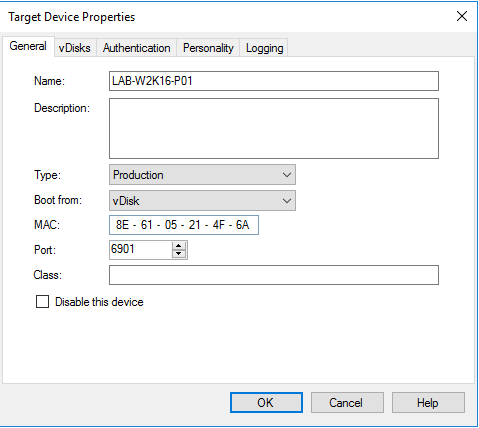
Step 7: Select vDisks Tab, Click Add
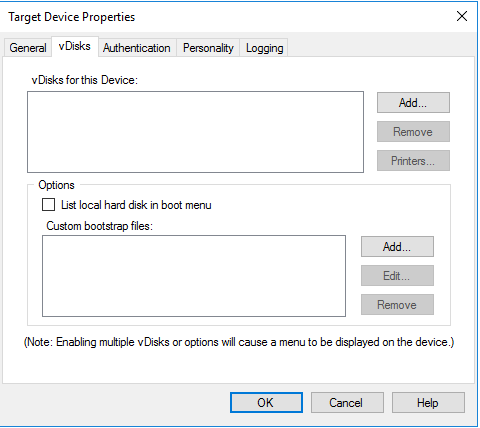
Step 8: Select the PVS Store\LAB-W2K16-PVS-MST, Click OK

Step 9: Click OK again

Step 10: Confirm Device is created in the Lab Device Collection
![]()
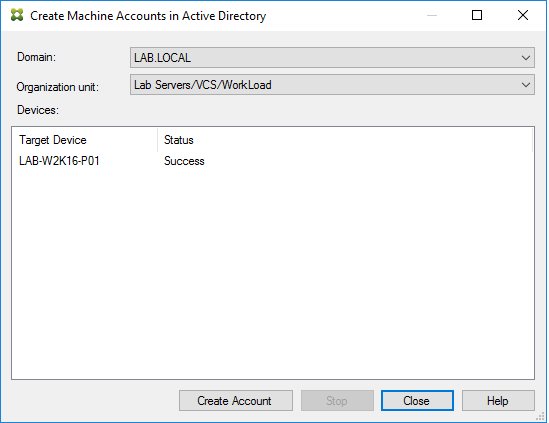
Step 11: Right Click on Created Device, Choose Active Directory> Create Machine Account

Step 12: Select Domain/Organization Unit of the machine account the device will be associated
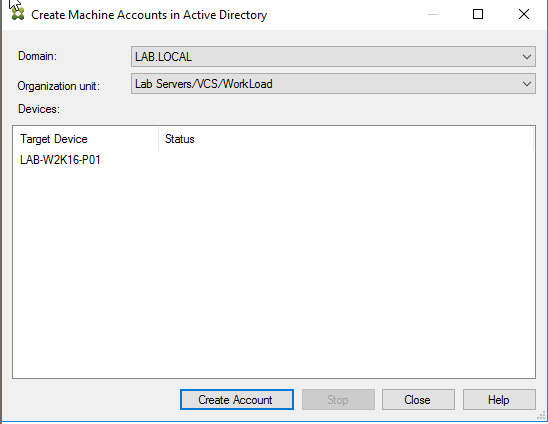
Step 13: Click Create Account, the click Done
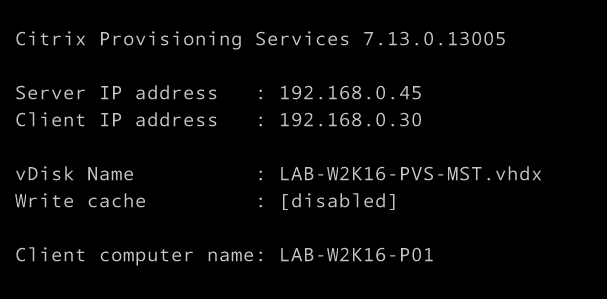
Step 14: Boot the LAB-W2K16-P01 Device, the below message will appear during boot confirming the vDisk associated with the Device.
Step 15: Getting devices ready will appear, this may take a few minutes

Step 16: Device will boot to Login screen.

Step 17: Under Systemtray, Double Click the PVS Disk
![]()
Step 18: Virtual Disk Status will appear confirming the Boot Server/vDisk

Step 19: Select Statistics Tab, this shows Boot/Session/Diagnostic Statistics

Step 20: Ensure before shutdown that the following is completed
- Ensure Antivirus is generalised (as per software vendor recommendation)
- Ensure Operating System licensing is re-armed
- Any Management application are adjusted as per software vendor recommendation in PVS environment (ie. SCCM, Appsense etc)
- Clear Logs Directory/Events in Apps/System/Security
Step 20: Ensure the vDisk is changed to Standard mode to be able to deploy to multiple targets.
Previous – Citrix PVS 7.13 – Part 1: Installing PVS on Windows Server 2016– Step by Step
Next –Citrix PVS 7.13 – Part 3: Deploying PVS Images and assigning to Machine Catalog
Thank you. Great article. After all this configuration, do I simply create a delivery and machine group in citrix sudio, then access this through storefront?
Hi Luis,
1. Create additional servers (i.e LAB-W2K16-P01 to LAB-W2K16-P10) within hypervisor. Gather all the Names/MAC address and then add them to PVS Collection assigning the image.
2.Create Machine Catalogue based on Machine being managed by PVS, Specify the PVS Server and then select PVS Collection. The servers will all then be added to machine catalogue.
3.Then create delivery group , specify the recently created machine catalogue as well as what exactly you want to publish (i.e Desktop or App) and what users to assign it to.
After all that, it should appear within storefront
I will be creating a separate article covering this PVS element, should be uploaded by tomorrow. I will post under this comment the new article/link
bravo and love the sight!
>
hello Wilky,
on Create PVS Image step 12, after I reboot the host but not see nothing like your step 13 after login it has an error imaging wizard restart error, imageing wizard did not restart, please check your netowkr boot configuration and restart the device. if you want the imaging wizard start check to be done again, select yes, otherwise select no. please advise. thanks
Hi Tony,
Have you set the VM to boot from network? It is essential this is completed so that PVS is booting the VM rather than a normal boot.
Cheers
WilkyIT
Thank! I figure it out, but when it boot got ip from dhcp but error waiting is tftp?
have you added the correct BIN file & PVS Server IP? If you could send pvs screenshot to david@wilkyit.com i can advise further.
thank for response enclose is the info, is this right the file ARDBP32.bin will be in the folder c:\programData\citrix\provisioning services\tftpboot?
On Mon, Oct 2, 2017 at 8:04 AM, Wilky.IT – Desktop Virtualisation Blog wrote:
> Wilky commented: “have you added the correct BIN file & PVS Server IP? If > you could send pvs screenshot to david@wilkyit.com i can advise further.” >
that looks right! is DHCP assigning out the options OK?
After completed step 12 boot from vmware vm change to boot network I got an error do I missing any step? Please advise thanks
What is the error you get?
on your step 16 the image pull almost done, and it hang, when check the vdisk on the bottom right side it said the virtual disk – not respond and it sit there, check the the image wizard log it said nothing there. do you have any info why? the not completed
Hi Tony,
Does the vDisk get created on the share fully? Can you past the log or send to me on david@wilkyit.com. Has you disabled any software that could interfere such as AV to ensure it is not preventing the full image creation?
Step 14 … I right click and select reboot it doesn’t display anything just says success??
Totally lost after successfully installing
Hi, is this creating the pvs image or testing image step 14?
Very very helpful article
Hi David i appreciate your hardwork but you missing vdisk sealing steps ,so could you please add into this article
Hi David,
it is very helpful indeed. I was trying to make this with windows 10 and write cache on D: drive but it couldn’t boot from the network after the first step of the imaging proces. it is keep-on saying An operating system wasn’t found. Try disconnecting any drives that don’t contain an operating system.
Any idea’s what i am missing?
thx,
hence far, thousands of players from all more than Indonesia have been partnered to the
Depoxito gambling agent website to enjoy the best online slot gambling games from the leading gaming
provider sites in the industry. This proves that Depoxito is dexterous to allow
the best help that is indeed much normal by gambling fans in Indonesia.
Not without reason, Depoxito’s loyal customers choose
this site to be a assistant to measure online gambling because of the best
features friendly in it. Such as abundant bonuses and promos, kind
and active customer service, as competently as a relatively low minimum
enlargement compared to extra thesame sites, and the most important is the unconventional of the most fixed idea and best slot titles.
In this article we will discuss some of the best online slot
provider sites that have worked taking into account Depoxito and some game titles
that you can pick taking into consideration you become a enthusiast
on Depoxito online gambling sites. keep listening to his
tally to acquire the latest suggestion virtually the world of
online slot gambling in Indonesia.