
Create additional PVS Devices
Step 1: Create additional devices on the hypervisor, in my case it is XenServer 7.1. i have created LAB-W2K16-PVS-02
![]()
Step 2: Obtain the MAC address of Server, found on the network tab of the VM

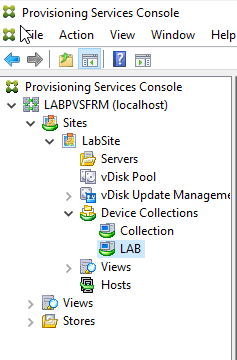
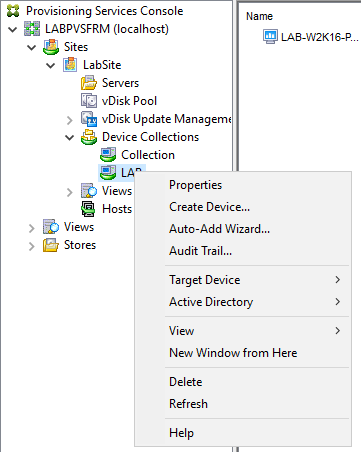
Step 3: Open Provisioning Console and browse to LABPVSFRM >SITES>LABSITE>DEVICE COLLECTION>LAB
Step 4: Right Click LAB Collection. Click Create Device
Step 5: Enter the Device Name and MAC Address

Step 6: Select vDisk Tab, Click Add

Step 7: Select PVS Store\LAB-W2K16-PVS-MST, Click OK

Step 8: Click OK again

Step 9: Click OK again
NOTE: Ensure a Machine Account is created in AD for the newly created device,
Create Machine Catalogue
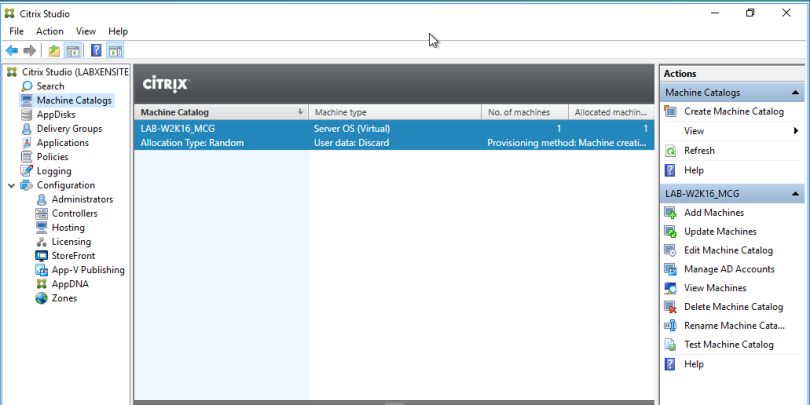
Step 1: At Citrix Studio, Select Machine Catalogs, Then Click Create Machine Catalog
Step 2: Click Next at Introduction

Step 3: At Operating System, Select Server OS and Click Next
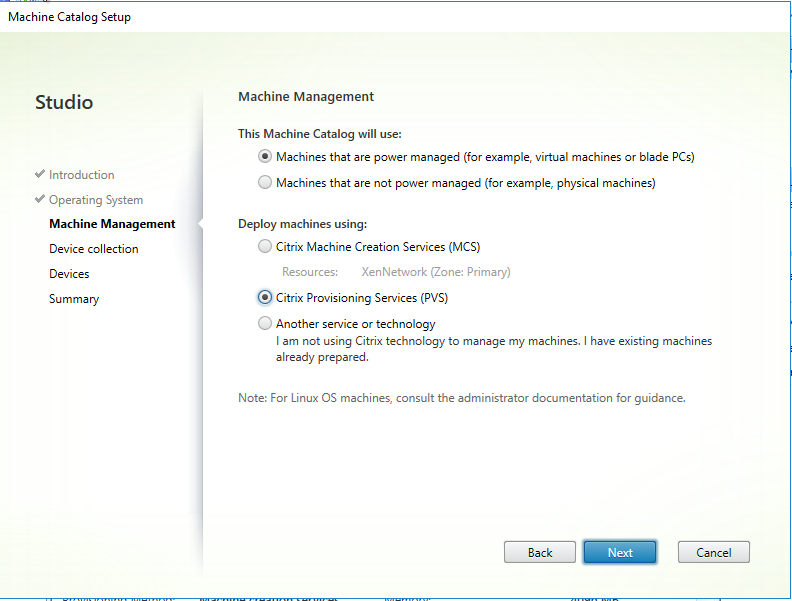
Step 3: At Machine Management – This machines catalog will use : Select Machines that are power managed and Deploy machines using : Citrix Provisioning Services (PVS). Click Next
Step 4: Add Provisioning Services Server address: LAB-PVS1 , Click Connect. Expand LabSite\LAB Collection. Click Next
NOTE: The user account running this task needs to be a member of the PVS administrators

Step 5: A list of devices in the LAB Collection will be displayed. Click Next

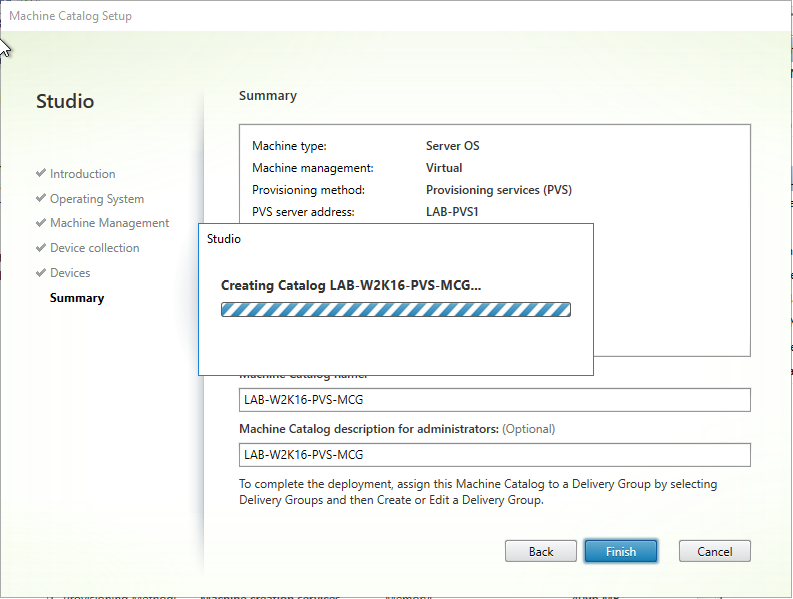
Step 8: At Summary Screen, Enter machine catalog name & description for administrators. In my case i will be calling it LAB-W2K16-PVS-MCG. Click Finish

Step 9: Machine called will now be created.
Step 10: This will be confirmed by new machine catalog appearing in Citrix studio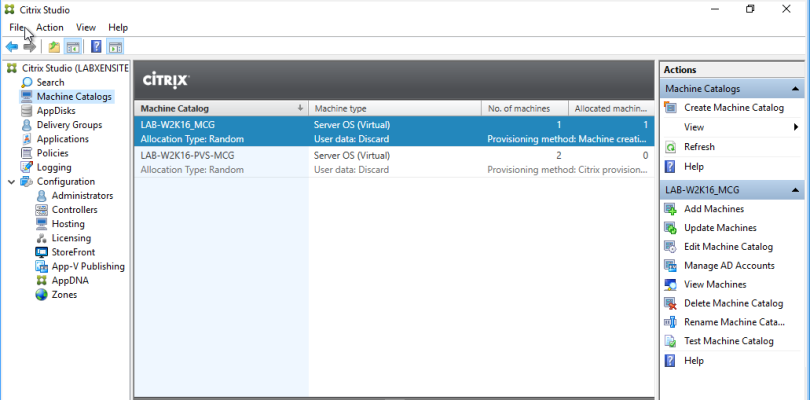
Step 11: This is now ready to be assigned to a delivery group ready for users to access the resource.
Previous
Citrix PVS 7.13 – Part 1: Installing PVS on Windows Server 2016– Step by Step
Citrix PVS 7.13 – Part 2: Create and Test PVS Image – Windows Server 2016
One comment