
Following on FSLogix Office365 Containers to the rescue! article, the following documents the installation/configuration. In the below examples we are using a XenApp Windows Server 2016 Server when performing the tests.
Preparation
Step 1: Create FileShare for VHDX Container Stores (recommended to be a Highly available) with the following NTFS folder permissions
| User Account | Folder | Permissions |
|---|---|---|
| Users (or Domain Group containing users) | This Directory Only | Modify |
| Creator/Owner | Sub-Directories and Files Only | Modify |
| Administrator (Optional) | This Directory, Sub-Directories, and Files | Full Control |
Share permissions should be as follows:
| User Account | Folder | Permissions |
|---|---|---|
| Everyone | This Directory Only | Modify |
In my example i have created “O365Container” share on LAB-DC1 Server for the purpose of this LAB but would be recommended to be a dedicated environment on production environment.
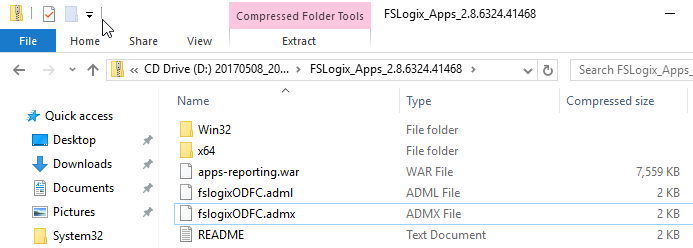
Step 2: In the Source Media (FSLogix_Apps_2.8.6324.41468) contains the Group Policy templates required for FSLogix Office 365 Containers.
Step 3: Copy the templates to the Group Policy Policy folders
- FsLogixODFC.adm to C:\Windows\PolicyDefinition\en-US (Local) or %logonserver%\sysvol\%userdnsdomain%\policies\PolicyDefinitions\en-US for (Central GPO Store)
- FsLogixODFC.admx to C:\Windows\PolicyDefinition (Local) or %logonserver%\sysvol\%userdnsdomain%\policies\PolicyDefinitions (Central GPO Store)
Step 4: Open Group Policy Management
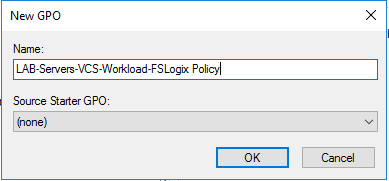
Step 5: Create a new GPO (or existing) that will be used to apply the FSLogix Configuration to the necessary Computer Accounts
Step 6: Expand Computer Configuration\Administrative Templates and confirm FSLogix Folder exists.
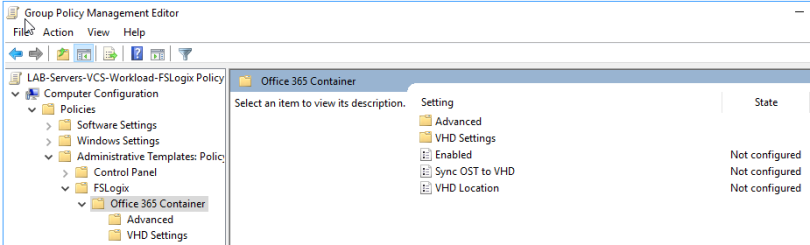
Step 7: Set the following Group Policy Settings
- FSLogix\Office 365 Container – Enable = Option Enabled
- FSLogix\Office 365 Container –Sync OST to VHD = Option Enabled
- FSLogix\Office 365 Container – VHD Location = VHD Location : \\LAB-DC1\O365Container
- FSLogix\Office 365 Container\Advanced – Swap Directory name components = Tick Swap Directory name components
- FSLogix\Office 365 Container\Advanced – Virtual Disk Type = VHDX
List of other configurable GPO Setting can be found here

Install Agent
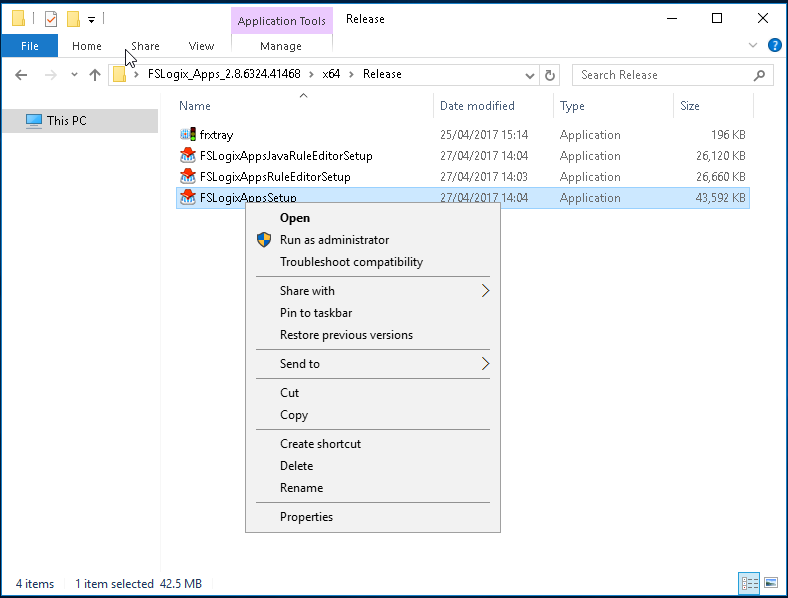
Step 1: The Source Media (FSLogix_Apps_2.8.6324.41468) contains the 32bit (Win32) and 64-bit (x64) installation files required.
Step 2: Open x64\Release folder
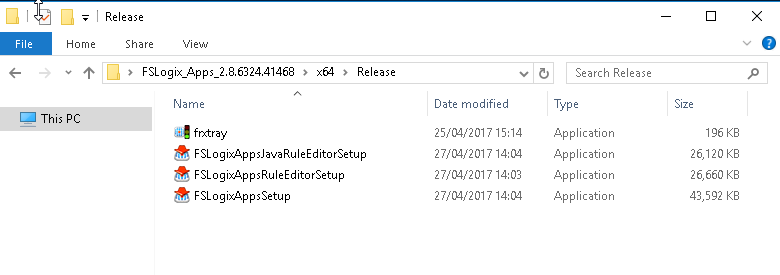
Step 3: Right Click “FSLogixAppsSetup” and Run as administrator
Step 3: The Setup will launch to the following screen

Step 4: Tick i agree to the license terms and conditions then click Install

Step 5: Installation will begin

Step 6: Installation will complete, Click Close

Step 7: Reboot the Device and Login to Device as Test User (in this example ctxuser1)
Step 8: Reviewing the file share created in Step1, you see a folder created in format of %USERNAME%_USERSID

Step 9: Reviewing the folder you’ll see the VHDX created in format of ODFC_%USERNAME%

Step 10: Reviewing the Disk Management you’ll see the VHDX Mounted for the user logged in the format of O365-%USERNAME%

Step 11: Confirm the Local Groups are created by reviewing the Local Users and Groups in Computer Management.
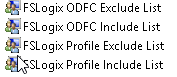
- FSLogix ODFC Include List (By default includes “Everyone”)
- FSLogix ODFC Exclude List – (Empty by default)
- FSLogix Profile Include List (By default includes “Everyone”)
- FSLogix Profile Exclude List – (Empty by default
This can be adjusted to include/exclude Users from FSLogix applying such as excluding Local Administrator. NOTE: Exclude List will overwrite the include List if a User appears in both.
Generally it would be best practise to remove the EVERYONE group and add a Domain Group as well as controlling the group membership of the groups by Restricted groups in Group Policy
Step 11: Add the following registry key to allow concurrent user sessions (required for XenApp Hosted Shared Desktop)
HKLM\Software\Policies\FSLogix
ConcurrentUserSessions:dword=1
Step 12: Add the following registry key to allow Windows Search (Outlook Indexing/Search Only)
HKLM\Software\Policies\FSLogix
RoamSearch:dword=1
Step 13: The following folders should be excluded from being captured as part of profile solution:
OneDrive
- %USERPROFILE%\AppData\Local\Microsoft\OneDrive
- %USERPROFILE%\OneDrive – <TenantName>
Outlook
- %USERPROFILE%\AppData\Local\Microsoft\Outlook
Setup OneDrive for Business & Outlook Fully Cached
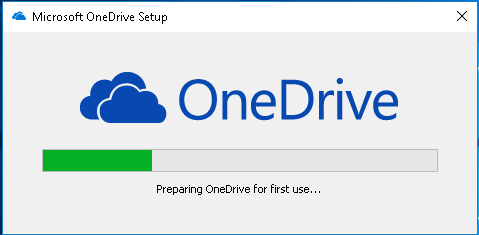
Step 1: Open OneDrive Application , if being used for the first time there is “preparing OneDrive for first use…”
![]()
Step 2: The Set up OneDrive screen will appear
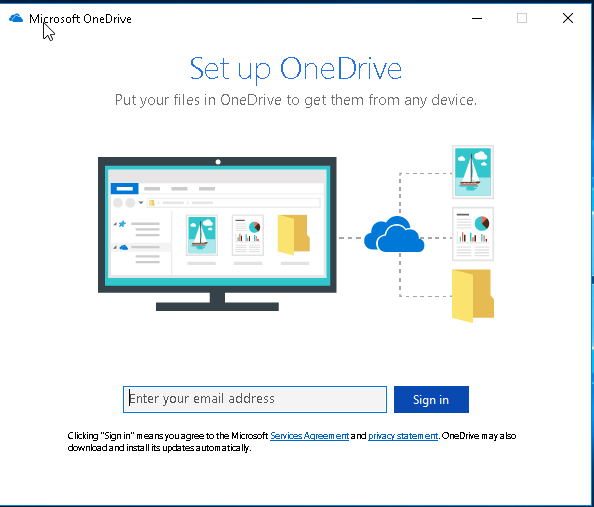
Step 3: Enter your Office365 username, click Sign In
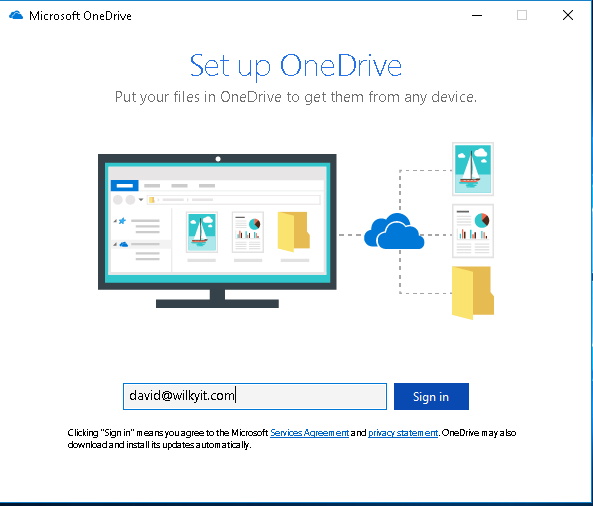
Step 4: Enter the password for the Office365 accounts.

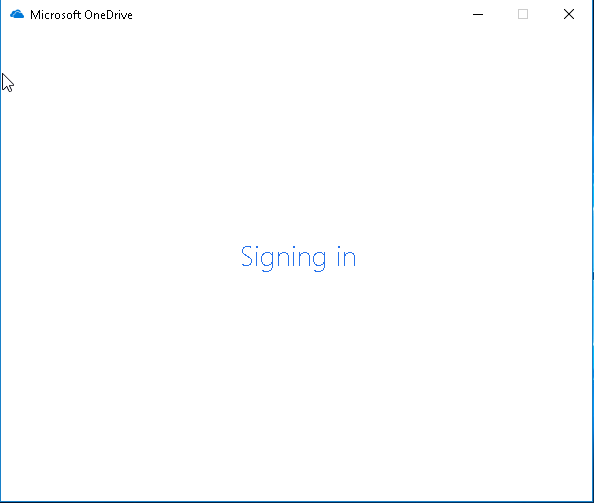
Step 5: Signing in message will appear…
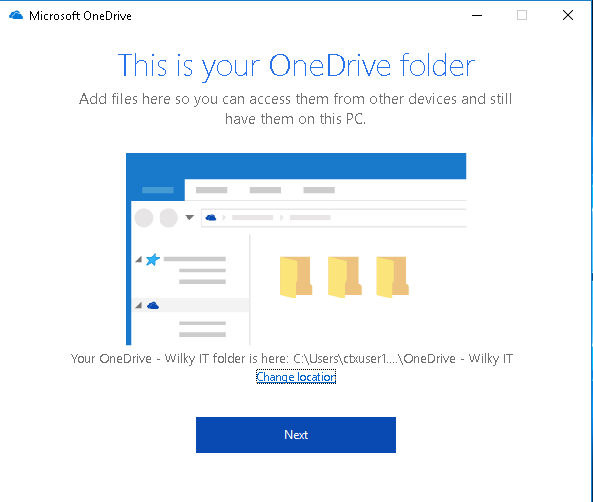
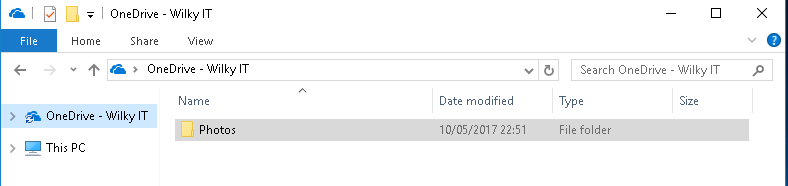
Step 6: This is your OneDrive folder will appear, by default it will default to %USERPROFILE%\OneDrive – <tenant> . Click Next
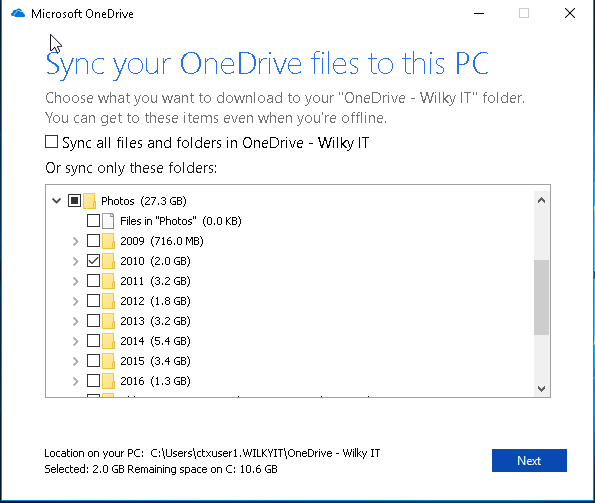
Step 7: Select the appropriate folders that are required to be sync’d. In my example it will be Photos\2010. Click Next
Step 8: The OneDrive is now then ready for use.

Step 9: The sync of data will begin at this stage to the %USERPROFILE%\OneDrive – WilkyIT , reviewing the VHD/VHDX you’ll see the size increase.

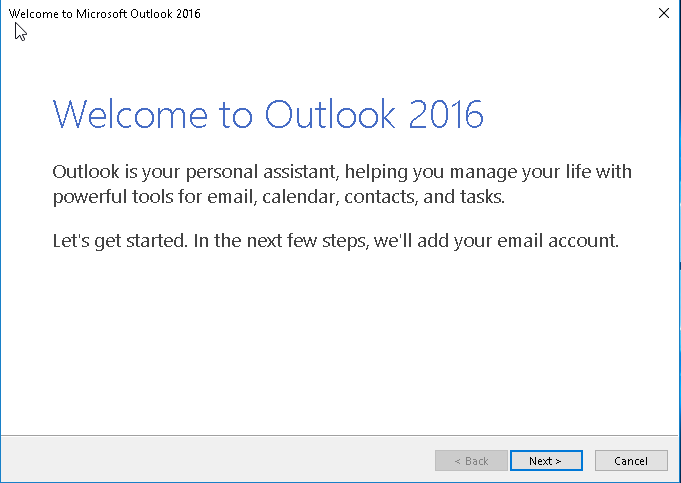
Step 10: Open Microsoft Outlook , Click Next to begin setup of profile
Step 11: Select Yes to setup Outlook e-mail account. Click Next

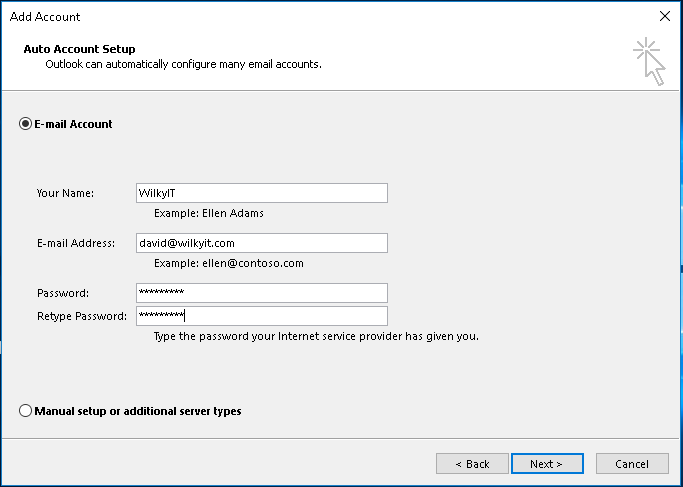
Step 12: Enter the appropriate details to setup the Office 365 account in outlook. Then click Next
- Your Name: in my case WilkyIT
- e-mail address: david@wilkyit.com
- Password: password for the account.
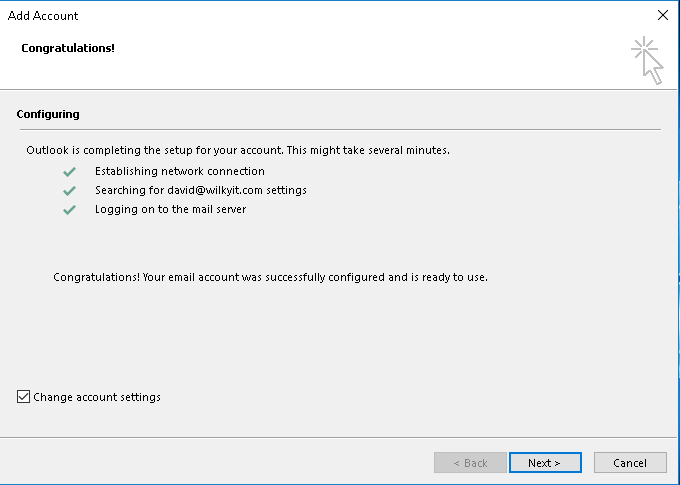
Step 13: Establishing Connection, Search for the Outlook setting and logging on to the mail server will begin

Step 14: After successful setup, ensure “change account settings” is ticked and click Next
Step 15: Ensure that “Use cached exchange mode” is ticked and click Finish

NOTE: See the following article for mixing online mode as a failback if VHD does not attach.
Step 16: E-mail will begin to be downloaded into the OST file contained in %USERPROFILE%\Appdata\Local\Microsoft\Outlook. This is indicaed by outlook status bar showing “updating this folder
![]()
Step 17: After mailbox full caching is complete , All folders are up to date will indicate this.
![]()
Step 18: Outlook mail will be fully ready for use.
Testing
Step 1: Logoff the Session, reviewing the profile (in this example the no data is contained in the %USERPROFILE%\Appdata\Local\Microsoft\Outlook or does not exist because it has been excluded for being saved by the profile manager (UPM/Appsense etc).
Step 2: Upon login to another XenApp/Windows Server 2016 Server and accessing OneDrive you see it beginning to perform a Sync check (blue arrows) for new files/changes
Step 3: But within a few seconds the folder will change to a green tick to indicate no new change/sync complete.

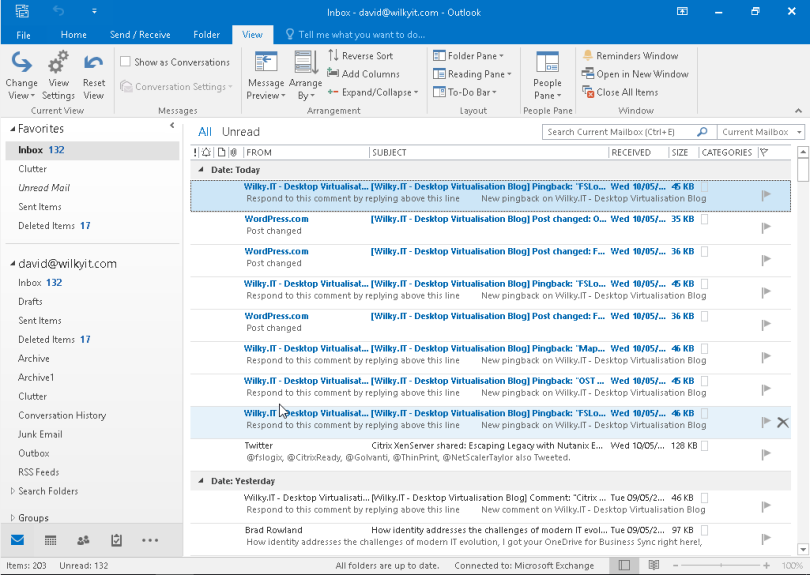
Step 4: Upon launch of Outlook, the mailbox immediately appears will “all folders are update to date” disappearing pretty much instantly to indicate OST being accessed and a quick check for new mail on the Office365 exchange.
Useful Info:
Log Location for Agent = C:\ProgramData\FSLogix\ODFC
The log will indicate the setting being read/applied by GPO, the VHD being found for the user , VHD’s being mounted to the specific folder of Office365

Hey David, i have notice that in the FSlogix Admx there is a setting for the 0365 container for cache mode. Its called set outlook cache mode on successful container attach.
description
When the Office 365 Container is successfully attached, set Outlook to work in cached mode for the user. The setting change will only be effective for the specific user and for the length of the user session.
If I set this the BOX is not checked in outllook? I am confused if the wording is off? Do I still set Cache mode in a Office MS GPO or use this?
I see you don’t monetize wilkyit.com, don’t waste your traffic, you can earn additional bucks every month with
new monetization method. This is the best adsense alternative for any type of website (they approve all sites), for more info simply search in gooogle:
murgrabia’s tools