

As per my Office 365 in Non-Persistent environment – Product Comparison Matrix article .There has been some interest in the Liquidware solution and although the original article was comparing the full ProfileDisk configuration (all profile data is stored) , there is an alternative way to be selective of what is stored in the VHD for the user and therefore the below article will cover this setup/configuration and testing.
At time of writing only Outlook Caching has been included, other components will be added in due course as they have been proved.
NOTE: The template was released by liquidware on 8th February 2018, after the original product comparison matrix was released.
Liquidware Architectural Overview

Prerequisites:
Management Server System Requirements
| Operating System | Windows Server 2008 R2 + (64bit Only) |
| Software | Microsoft .NET Framework 4.5.2, Erlang OTP, RabbitMQ Server, and MongoDB Server
All Installed during management software setup. |
| CPU | 2 vCPU |
| Memory | 4GB |
| Storage | 20GB (minimum) |
FileShare for Storage of VHD Disks
UNC Path to Store VHD (in my case i have used “\\LAB-DC1\ProfileUnity”) Share.
Share Permission
| User Account/Group | Permission |
| Everyone | Full Control |
NTFS Permission
| User Account/Group | Permission | Folder |
| Administrator | Full Control | This folder, subfolders and files |
| Authentication User | Modify | This folder only |
| Creator/Owner | Modify | Subfolder and Files only |
Install ProfileUnity Management Software
Step 1: Launch “ProfileUnity-Net_6.7.0gab3.exe” (downloaded from http://www.liquidware.com/download) and then Choose English (United States). Click OK

Step 2: Click Next at Welcome to the Pre-requisites wizard.

Step 3: Click Next at Prerequisites to begin installing them.

Step 4: Installation will begin and take several minutes to complete.

Step 5: After all prerequisites have completed and installed successfully. Click Finish

Step 6: At Welcome to the ProfileUnity Setup wizard, Click Next

Step 7: At Select Installation folder, Leave as default. Click Next

Step 8: At logon information, provide a password for the service account required db/fabric services. Click Next

Step 9: At FlexDisk Broker Mode, Select Citrix , Click Next

Step 10: At End-User License Agreement , Select i accept the terms in the License Agreement. Click Next

Step 11: At Read to install , Click Install

Step 12: Installation will proceed and take several minutes to install.

Step 13: At Completing the ProfileUnity Setup wizard, Click Finish to Launch the Profile Unity Web Console.

Configuring ProfileUnity for Office365
Step 1: Login to ProfileUnity with username (admin) , password (leave blank) and Click the Arrow to begin login.

Step 2: At first login the password must be changed. Please change the password to secure password of your choice. Click Arrow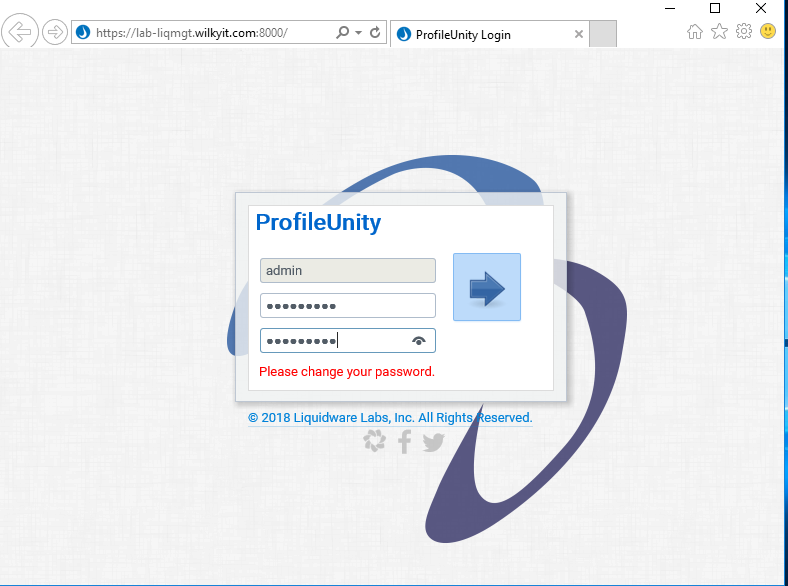
Step 3: After login, select Administrator , Select Administration

Step 4: Scroll down to ProfileUnity Tools, Click Deploy Client tools to deploy client tools to the Netlogon folder.(%DOMAIN%\NETLOGIN\ProfileUnity)

Step 5: Browse to the %DOMAIN%\Netlogon\ProfileUnity and copy the ADM/ADMX into the Central GPO Store

- ProfileUnity.adm to C:\Windows\PolicyDefinition\en-US (Local) or %logonserver%\sysvol\%userdnsdomain%\policies\PolicyDefinitions\en-US for (Central GPO Store)
- ProfileUnity.adm.admx to C:\Windows\PolicyDefinition (Local) or %logonserver%\sysvol\%userdnsdomain%\policies\PolicyDefinitions (Central GPO Store)
Step 6: Create a GPO that will be assigned to Computer that will need the Profile Unity Client installed. Computer Setting\Policies\Administrative Templates\Classic Administrative Template\Liquidware Labs\ProfileUnity (32bit or 64-bit)

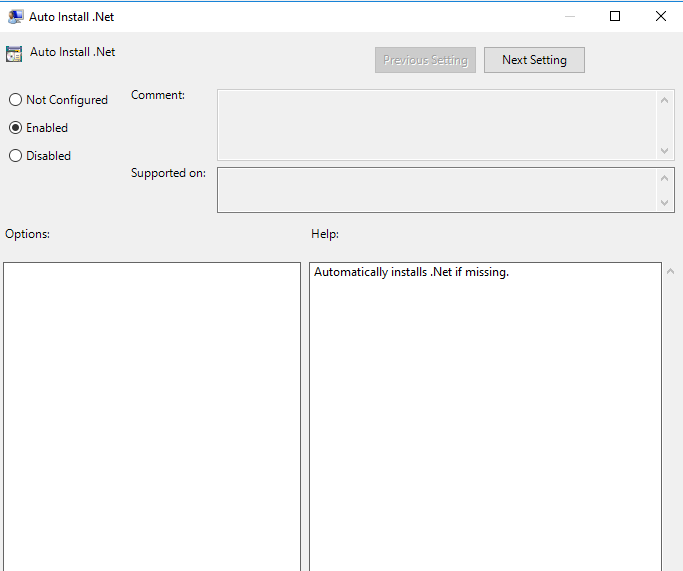
Step 7 – Browse to Auto-Install.Net Setting, Select Enabled
Step 8 – Browse to System INI File Path setting and Specify the %DOMAIN%\NETLOGIN\ProfileUnity location where INI files will be deployed.

Step 9: Browse to Computer Setting\Policies\Windows Settings\Scripts\Startup and Add the following script “\\%DOMAIN%\NETLOGON\ProfileUnity\LwL.ProfileUnity.Client.Startup.exe”

Step 10: Create a separate GPO/or use Loopback processing on the Computer Objects to apply user settings. User Setting\Policies\Administrative Templates\Classic Administrative Template\Liquidware Labs\ProfileUnity (32bit or 64-bit)
Step 11 – Browse to System INI File Path setting and Specify the %DOMAIN%\NETLOGIN\ProfileUnity location where INI files will be deployed.
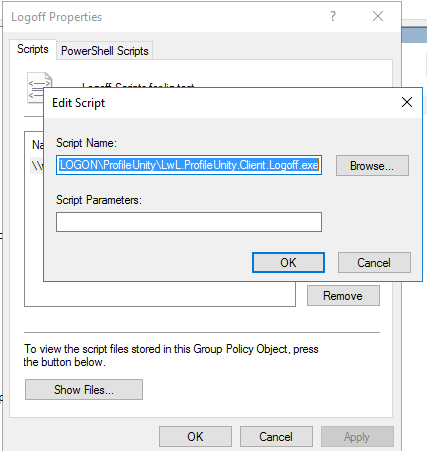
Step 12 – Browse to User Setting\Policies\Windows Settings\Scripts\Logoff and Add the following script \\%DOMAIN%\NETLOGON\ProfileUnity\LwL.ProfileUnity.Client.Logoff.exe:-
Step 13: Ensure that License file has been placed on %DOMAINNAME%\ProfileUnity folder as this the default locaiton otherwise any other location needs to be specified via License File path GPO.
![]()
Importing O365 template
Step 1 :- Download the JSON file from this article
Step 2 :- Browse Administrator/Administration/Templates and Click Add Template

Step 3 :- Select Template downloaded to Upload.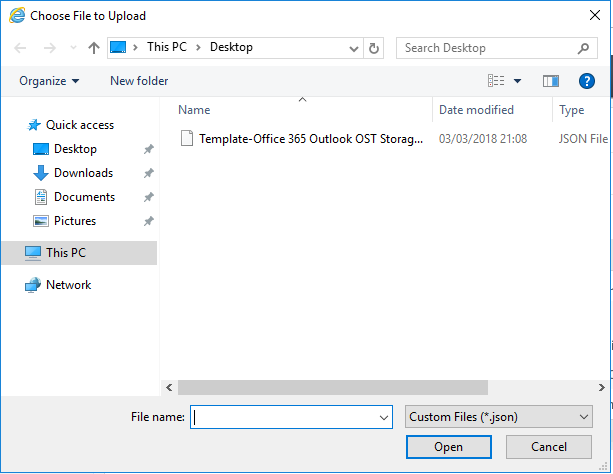
Step 4 :- Confirmation of Import will show as successful.

Step 5 :- Select Configuration Management from Left Menu. Click Create Configuration.

Step 6 :- Select Guided Configuration

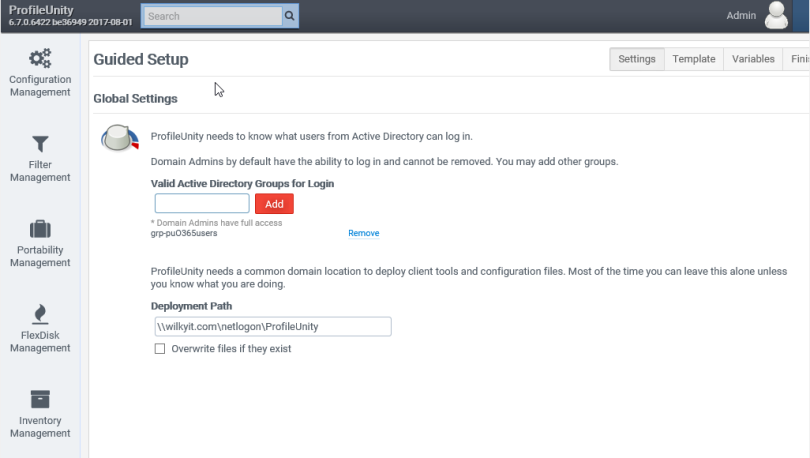
Step 7 :- Specify Active Directory Group that Configuration will apply (I.e WILKYIT\grp-puO365users), Click Add. Deployment path by default will be the ProfileUnity in NETLOGON. Then Click Next
Step 8 :- Select the recently created template (Office365 Outlook OST Storage Virtual Disk – Imported) . Click Next

Step 9 :- Specify path where the VHD will be stored. In my case \\LAB-DC1\ProfileUnity\%USERNAME%. Then Click Next

Step 10 :- At Deployment Path, Click Update to deploy the INI file into the default INI location (%DOMAIN%\NETLOGON\PROFILEUNITY)

Additionally the following steps need to be completed to ensure the user can write/own the permission on the VHD volume:-
Step 1: Create a VHDACL.ps1 with the following content
$varUsername = $env:USERNAME
$varUserdomain = $env:USERDOMAIN
$filesystemlabel = "ProfileUnity Virtual Disk 1"
$vol = Get-WMIObject -Class Win32_Volume -Filter "Label='$filesystemlabel'"
$link = $vol.DeviceID
icacls.exe "$link" /grant "$varUserdomain\${varUsername}:(OI)(CI)(F)"
Step 2: Copy the VHDACL.ps1 to the %DOMAINNAME%\NETLOGON\PROFILEUNITY
Step 3: Log into Profile Unity, Under Configuration Management and open the existing Configuration in earlier steps:-

Step 4: Click User Defined Scripts

Step 5: Add a new User Defined Script settings with the following:-
- Description = VHD Permission Reset
- Execute: After ProfileUnity at Logon (Post-Logon)
- Type: Powershell
- File : \\%DOMAINNAME%\NETLOGON\ProfileUnity\VHDCAL.ps1

Testing Configuration
Step 1: Log in as ctxuser1 (which is a member of the grp-puO365users)

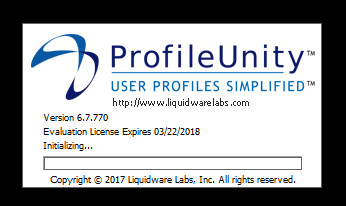
Step 2: Profile Unity Splash screen will appear showing initialising
Step 3: The splash screen will show execution of O365 OST Virtual Disk, confirming INI file has been detected and is running for the user.

Step 4: Browsing to the Location specified in Configuration Section – Step 9

Step 5: Browsing to %LocalAppData%\Microsoft , the Outlook Folder is mounted to the VHD file and previous folder has been renamed Outlook.old.

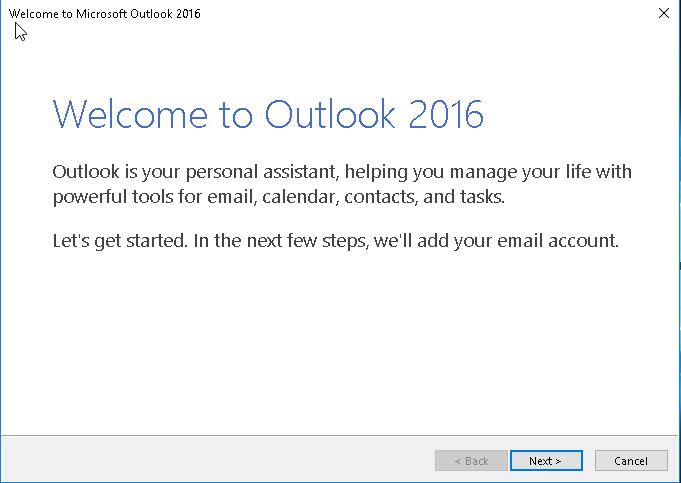
Step 6: Open Microsoft Outlook , Click Next to begin setup of profile
Step 7: Select Yes to setup Outlook e-mail account. Click Next

Step 8: Enter the appropriate details to setup the Office 365 account in outlook. Then click Next
- Your Name: in my case WilkyIT
- e-mail address: david@wilkyit.com
- Password: password for the account.

Step 9: Establishing Connection, Search for the Outlook setting and logging on to the mail server will begin

Step 10: After successful setup, ensure “change account settings” is ticked and click Next

Step 11: Ensure that “Use cached exchange mode” is ticked and click Finish

Step 12 : Looking at the %LocalAppData%\Microsoft\Outlook the folder is populated with the outlook cache.

This will allow the profileUnity product run without depending on the profileDisk to capture all setting this making it profile agnostic.
There is additional templates which allow Indexing/Caching to added to configuration for users. Here is a my view
- Cache does not roam between computers but created in each one.
- If multiple servers in a pool are used the user search index must be created in each one thus it could be hit/miss if an existing cache exists on that server and may require update to bring to latest.