
Based on my previous arcticle Installing & Configure XenApp/XenDesktop 7.12 on Windows Server 2016 , i am now going to load balance Storefront by adding additional VM.
The following Storefront VM’s will be used in the LAB Setup for Load Balancing:-
- LAB-SF1 : 192.168.0.56
- LAB-SF2: 192.168.0.57
LAB-SF2 has been created and added to server group as per below:-
Add 2nd StoreFront Server
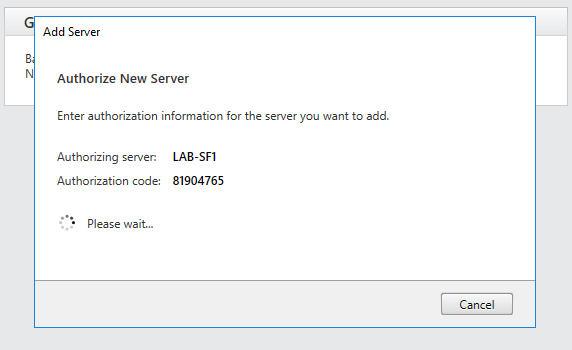
Step 1 : Launched Citrix StoreFront Console on LAB-SF1. Server Groups Menu and Add Server
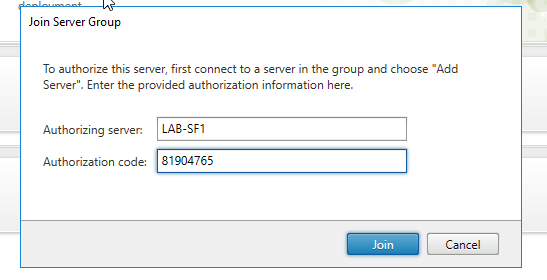
Step 2 : On LAB-SF2 , Join existing Server Group and add the details provided on LAB-SF1
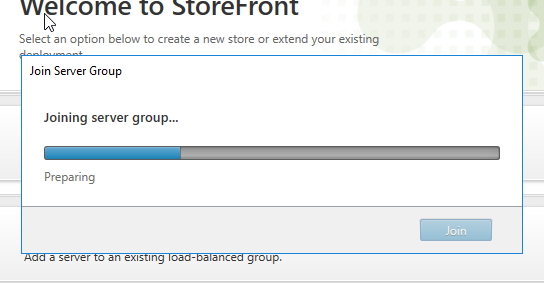
Step 3 : LAB-SF2 will now be joined to the Storefront Server Group
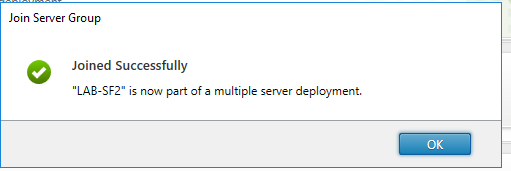
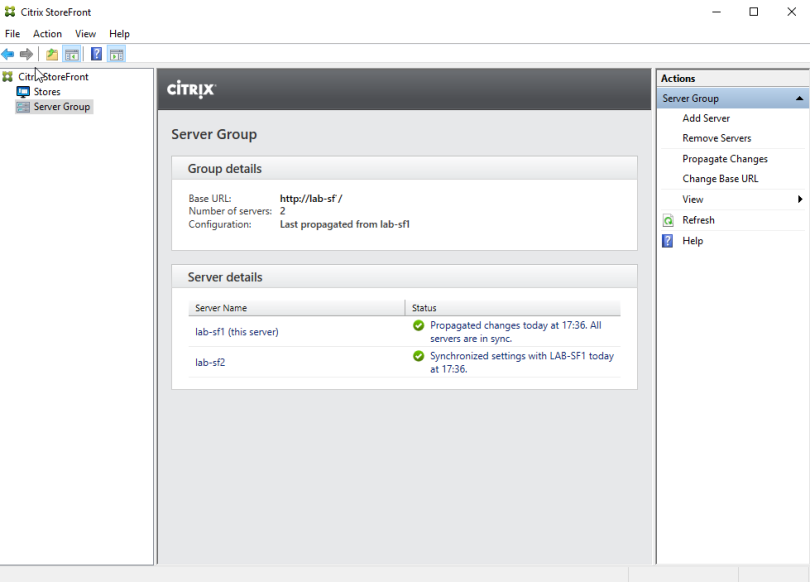
Step 4: Validation of successfully joining will be confirmed with the below screenshot.
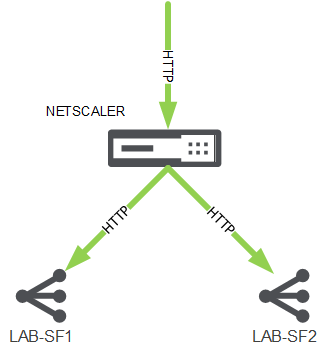
Create Netscaler Load Balance
The following sequence i will use in order to create the Load Balance Configuration:-
- Create Servers
- Create Monitor
- Create Service Group
- Create Virtual Server
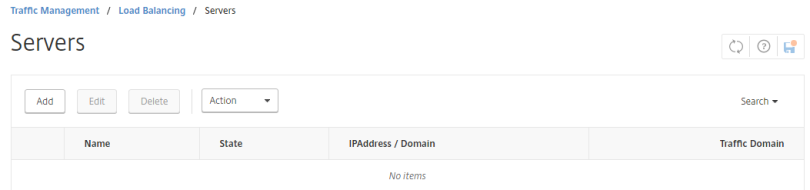
Step 1: Under Configuration, browse to Traffic Management > Load Balancing >Servers

Step 2: Click Add
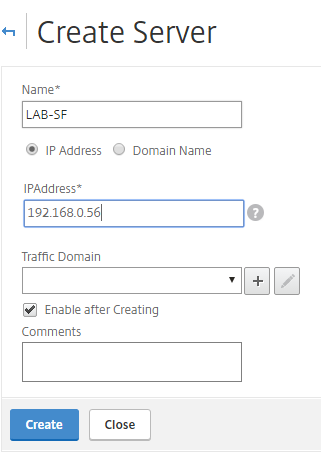
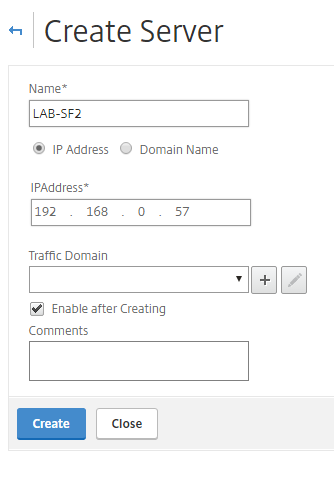
Step 3: Add each Storefront Server with the following info, then click Create
- Name: LAB-SF1/LAB-SF2
- IP Address: 192.168.0.56/192.168.0.57
Step 4: Browse to Traffic Management > Load Balancing >Monitors and Click Add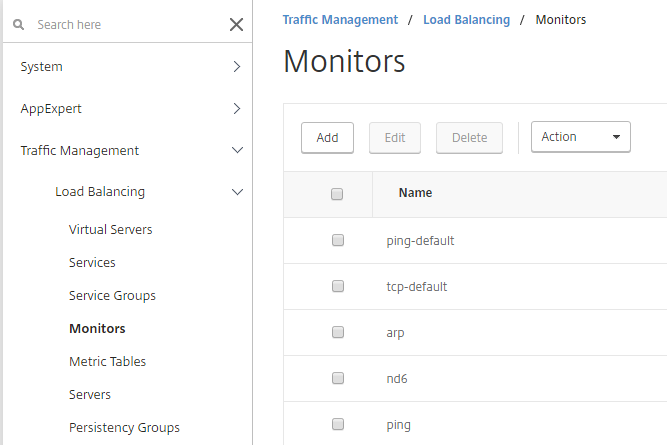
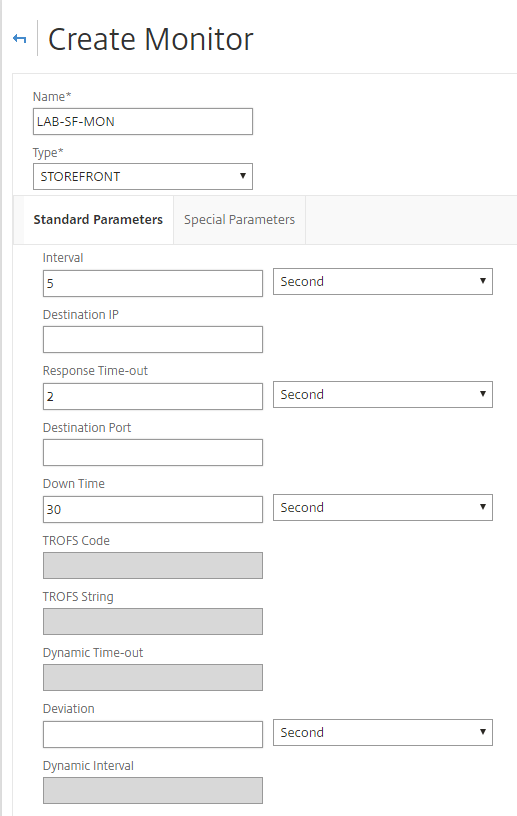
Step 5: Add LAB-SF-MON as name, Type as STOREFRONT, select Special Parameters Tab
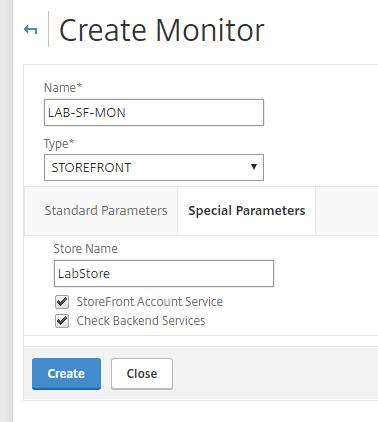
Step 6: Select Special Parameters Tab, add the following info and click Create
- StoreName: LabStore
- StoreFront Account Service: Ticked
- Check Backend Services : Ticked
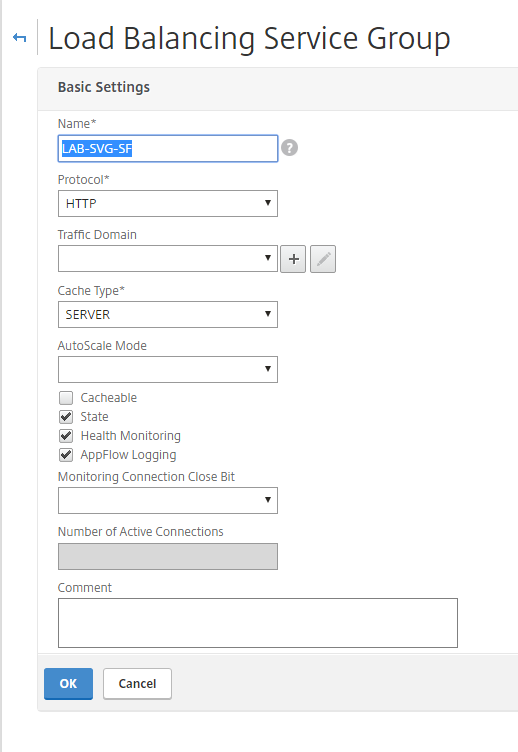
Step 6: Browse to Traffic Management > Load Balancing >Service Groups and Click Add
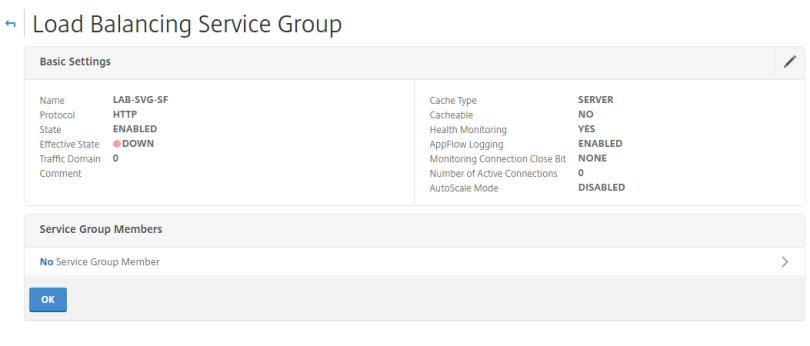
Step 7: Type Name LAB-SVG-SF as Name, Protocol as HTTP, Click OK
Step 8: Select No Service Group Members
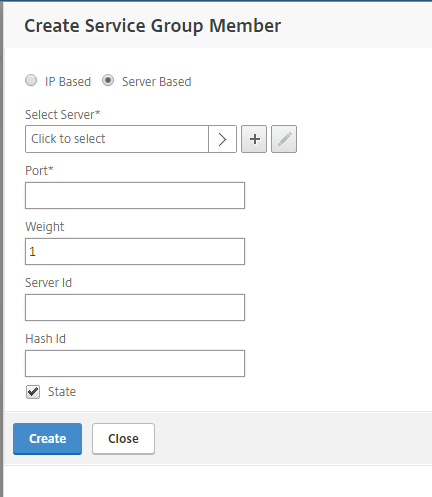
Step 9: Select, click to select
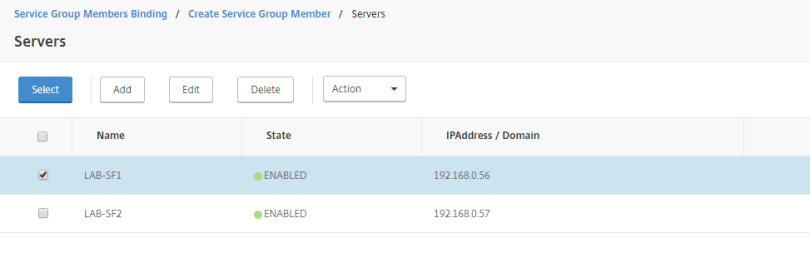
Step 9: Tick LAB-SF1, then click Select
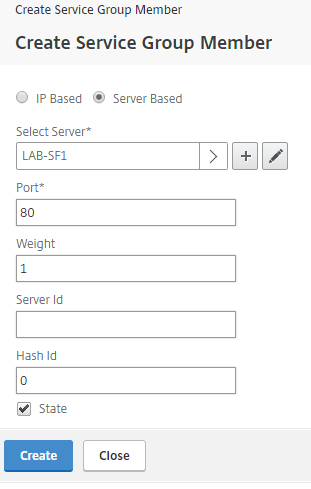
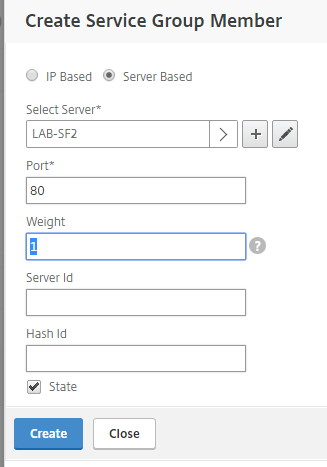
Step 10: Enter Port 80 and click create
Step 11: Again Select, click to select
Step 12: Tick LAB-SF2, then click Select
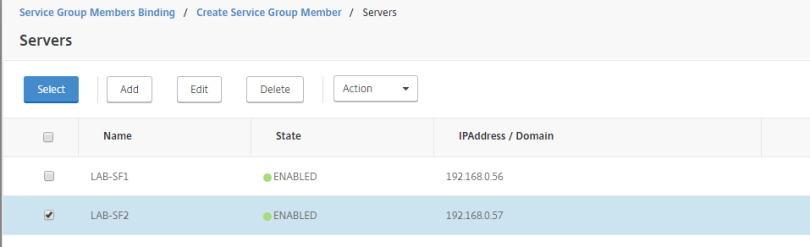
Step 13: Enter Port 80 and click create
Step 14: Verify both server are added to binding, Click Close

Step 15: Assign the LAB-MON-SF Monitoring to the Service Group.
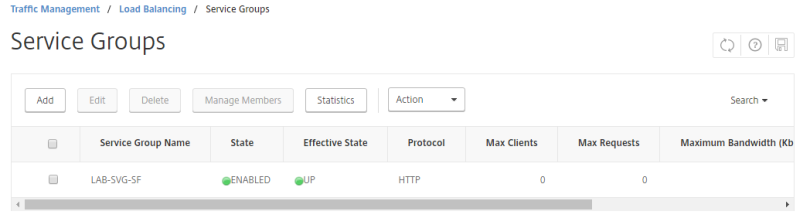
Step 16: Service Group will now show the status of the newly created Service Group, confirm is both Enabled/UP
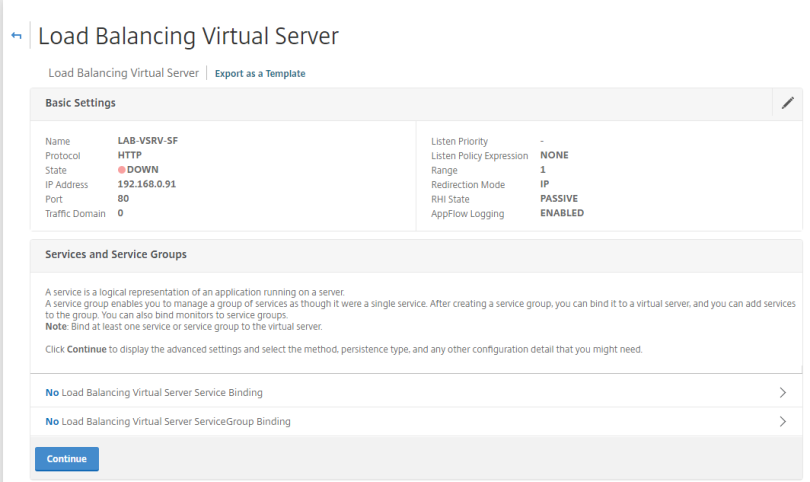
Step 17: Browse to Traffic Management > Load Balancing > Virtual Servers and click Add

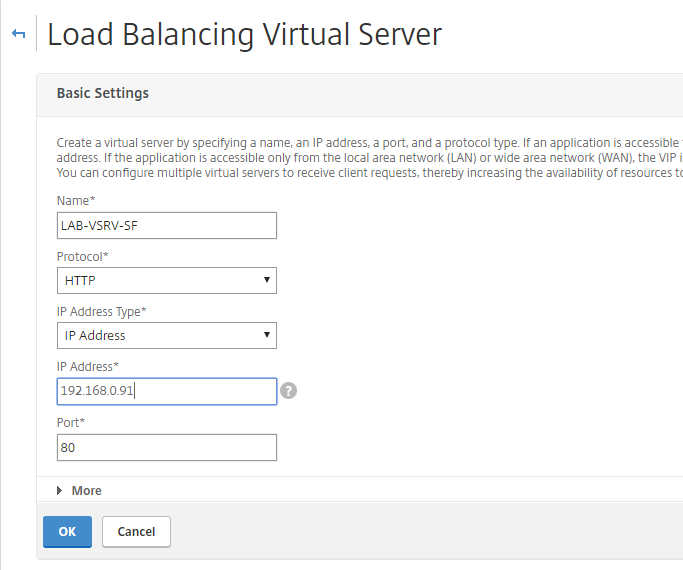
Step 18: Add the following to basic settings, then click OK
- Name: LAB-VSRV-SF
- Protocol: HTTP
- IP Address: 192.168.0.91
- Port : 80
Step 19: Click No Load Balancing Virtual Server ServiceGroup Binding
Step 20: Select Click to Select
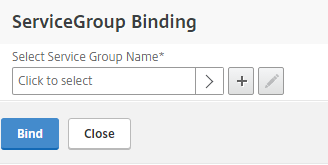
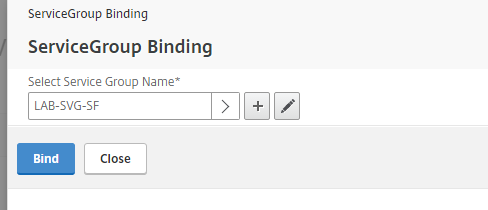
Step 21: Under Service Group, Select the LAB-SVG-SF and Click Select

Step 22: Click Bind
Step 23: Click Continue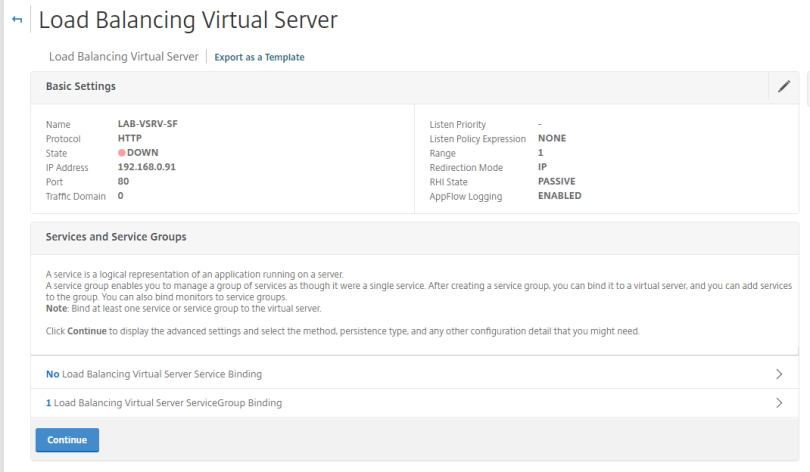
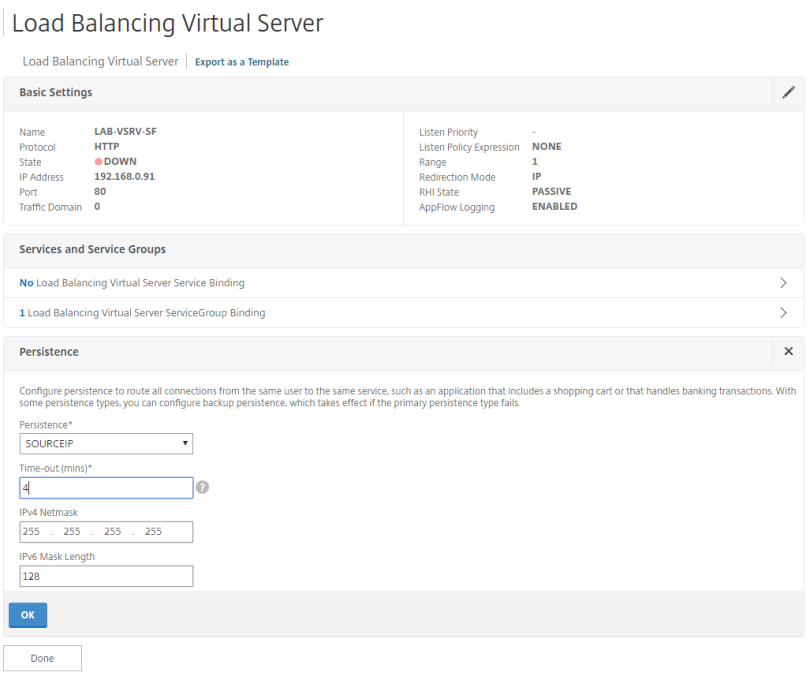
Step 24: Choose Persistence from Right hand menu, then configure
- Persistance Type: Source IP
- Timeout (mins):
- IPv4 NetMask: 255.255.255.255
- IPv6 NetMask Length: 128
Step 25: Choose Method from Right hand menu, the configure and click Done
- Load Balancing Method: LEASTCONNECTION
- Backup LB Method: NONE
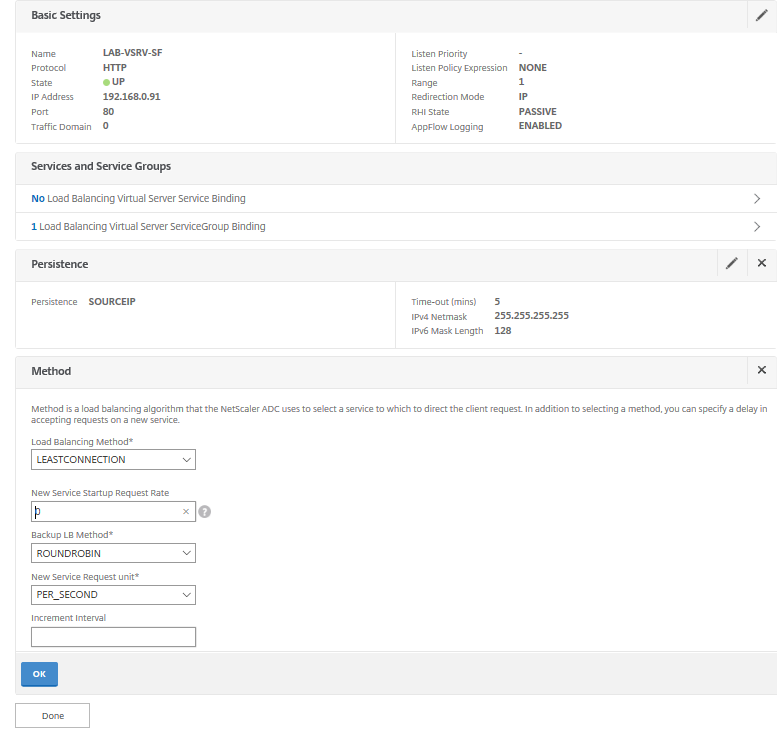
Step 26: Confirm virtual Server state/Effective State is UP

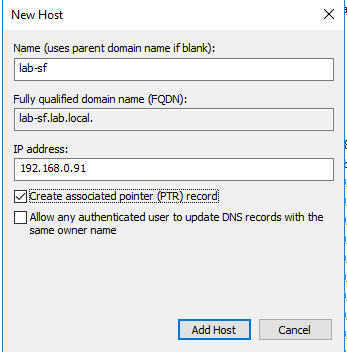
Create DNS A Record & Storefront Base URL
Step 1: Create a Host Record with the Name and IP Address of desired load balance name. In this case it is LAB-SF/192.168.0.91
Step 2: Open Citrix Studio > Server Group and click Change Base URL

Step 3: Change Base URL to the new Load Balance Name, LAB-SF. Click OK

Step 4: Note the Base URL will change. Then Click Propagate changes.
Create DNS A Record & Storefront Base URL:
after step 3, how does the picture from step 2 looks like?
Hi,
I have added additional image to show you what happens when based URL is changed.
Cheers
David
is there a script to import into Netscaler to do all this?
Yes, this can all be done by script/CLI. After configuring the running config can be copied and run again on a blank netscaler.